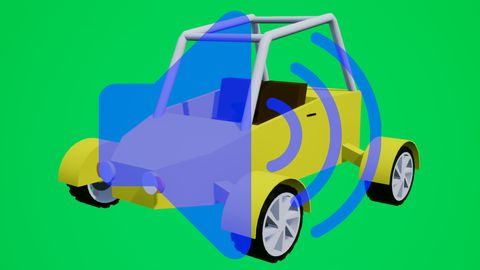
Texturing the vehicle model in Blender | [Part 3] Low poly vehicle for UE4
by Arthur Ontuzhan
Posted 6 years, 4 months ago Last edit 2 years, 3 months ago
Categories: Tutorials Blender Tags: Vehicle Blender 2.8
Table of contents
Introduction
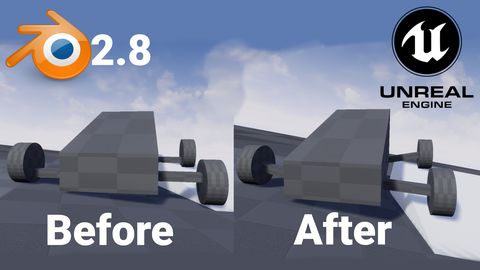
This is the third part of the tutorial series on how to create a low poly vehicle for Unreal Engine 4 using Blender and other free software. You can see the outcome of the tutorial series or get project files here.
In this tutorial, we will texture the low-poly vehicle using the color palette method. I will use Blender 2.82, but newer versions also should work.
You can find other parts here:
- [Part 1] Modeling low poly vehicle base in Blender.
- [Part 2] Modeling low poly vehicle wheels.
- [Part 4] Making speedometer and tachometer textures.
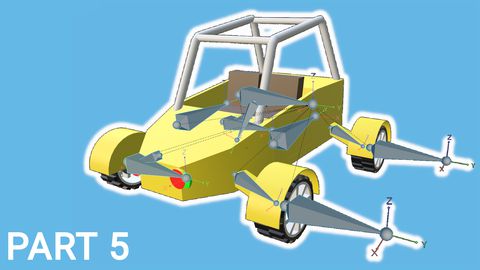
- [Part 5] Rigging vehicle the vehicle model.
- [Part 6] Setting up basic vehicle in Unreal Engine 4.
- [Part 7] Making mudguards and brake calipers move together with wheels.
- [Part 8] Making openable doors and animated steering wheel.
- [Part 9] Adding lights and brake lights.
- [Part 10] Adding speedometer and tachometer and first person camera.
- [Part 11] Adding turn signals with automatic turn off.
- [Part 12] Generating and setting up basic engine sounds.
Also, there's a video if you have difficulties to understand some parts.
Color palette
Our vehicle will have simple material, which will consist of mesh faces colored in some color. We could assign each color new material, but each new material is a new draw call in our scene. You can read more about draw calls here.
We could also just color our vehicle in Blender and then bake its base color to the new texture. But, if we would texture many models like this and have them in our game scene, it would mean that we would need to have 1 texture for each model or one big texture atlas. That might not be a big issue for PCs or consoles, but if we want to make a game for mobile, it might have hit on our performance.
So we will use the color palette method. We will have a simple texture file that consists of color blocks and then we will move object UVs around it, to assign correct colors to each face.

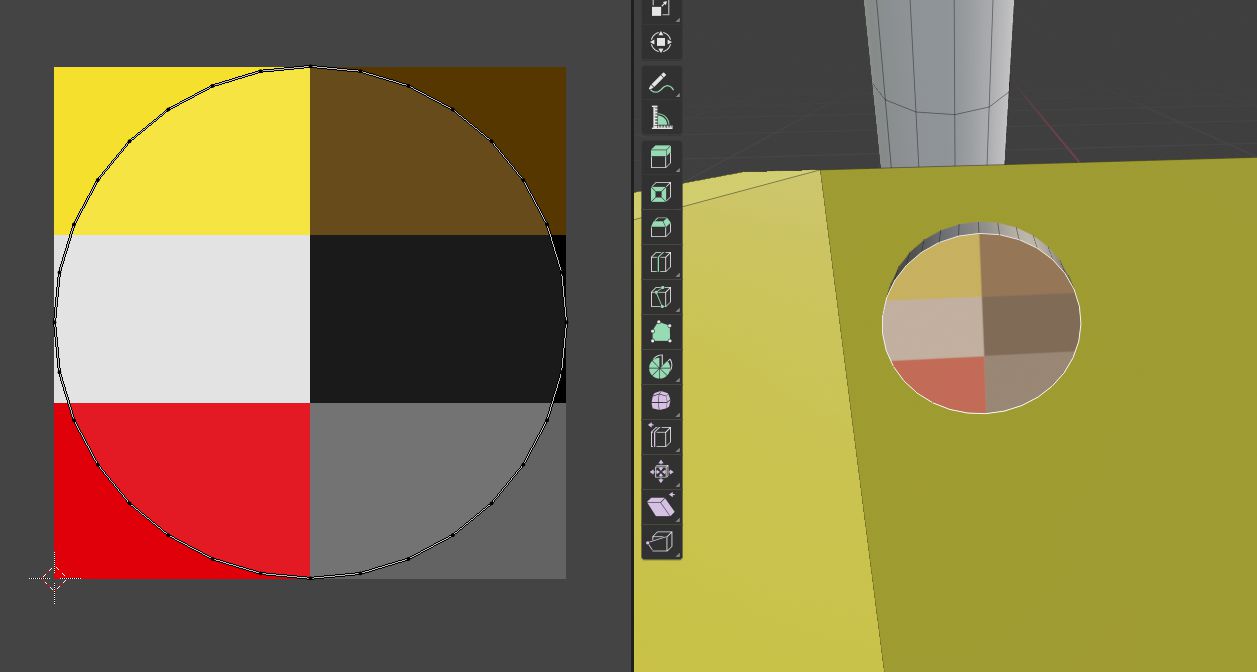
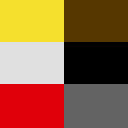
At the top we can see how our color palette will look like. You can get it in PNG format here.
You can make it using Paint, Gimp or any other free or paid image editing software of your choice. It's recommended to have its dimensions to be by the power of 2 (8x8, 128x128, 256x256), but it's not mandatory. Theoretically, you could have each color block to be only one pixel big and your image might be a few pixels in total.
Texturing vehicle wheels
In the last part, we finished our wheel so we could texture it in this part and then duplicate it and place them in their places. Before we start moving our wheel UVs, we will add material to it which uses texture, so we could see how it will look in the UE4.
- Switch to the Shading workspace.
- Select the wheel mesh.
- Press New button to add new Material to mesh, rename it to TextureMaterial.
- Add Image Texture node in node graph - Add -> Texture -> Image Texture.
- Into Image Texture node Open our Color Palette texture.
- Connect Image Texture node Color output with Principled BSDF node Base Color input.
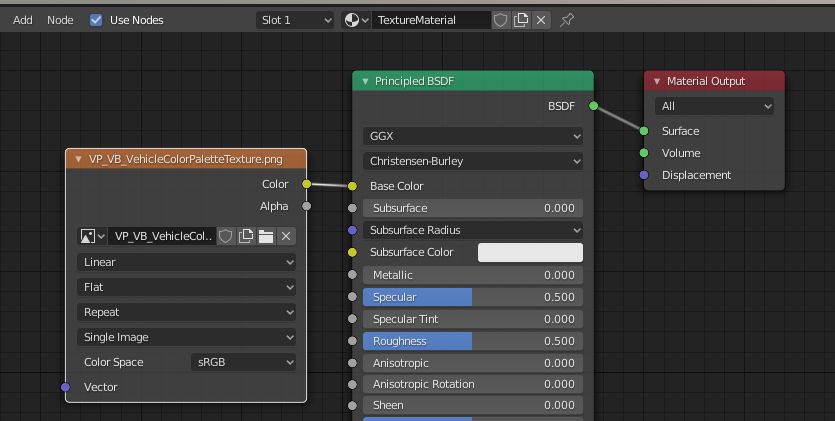
Now we should see that our wheel changed color to light brown. Now we can move our wheel UVs. But at first we need to unwrap it.
- Switch to UV Editing workspace.
- Select wheel mesh A and Unwrap it - press U and select Unwrap.
- Change Viewport Shading to Material Preview shading - press Z and select Material Preview.

Now we should see a weirdly colored wheel. We will fix it by placing UVs to correct places.
- In the 3D viewport hover with the mouse cursor over the part you want to select and press L. If it selects whole mesh, expand Select Linked widget below and in Delimit select Seam.
- When some part is selected in the 3D viewport, you should see its UVs appear in the UV Editor.
- In UV Editor select the part and then move it G to the color block and scale it in S, so it would not move out of it.
- Now repeat previous steps. Move tire part into the black color block, rim part into light yellow block and brake disc part into the darker gray part.

While we still working with the wheel let's place brake caliper UVs too.
- Go to object mode Tab select brake caliper in the 3D viewport and then go back into edit mode Tab.
- Select brake caliper mesh A and then in the UV Editor move it into the red color block.
- You will not see its color change. If you want it to change, just set its material to TextureMaterial which we use for the wheel.

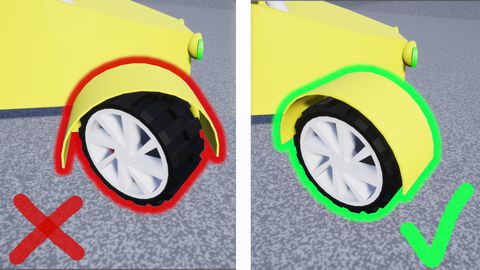
Duplicating wheels
Our wheel is now textured, and now we can duplicate it and set all wheels to their positions.
- Switch to Layout workspace.
- Select wheel object and set its location to X 0.95 m, Y 1.3 m, Z -0.1 m.
- Now Shift select Wheel and Brake Caliper mesh and duplicate them by pressing Shift+D.
- Now select only Wheel mesh and set its location to X -1.1 m, Y 1.45 m, Z -0.1 m. Brake caliper should move with our wheel because it's parented to our wheel.
- Make sure that the transform pivot point is set to the 3D cursor and the 3D cursor is in its default position (Shift + C to reset 3D cursor).
- Now select both Wheels and Brake Caliper meshes.
- Duplicate wheels and brake calipers to the other side. Press Shift+D then press S and press Y and type -1 and then accept operation by left mouse click or pressing Enter.
- Unhide Vehicle Base mesh by pressing Alt+H.
- Change Viewport Shading to Material Preview shading - press Z and select Material Preview.

Vehicle base texturing
Now we should see that we have 4 wheels and we are almost ready to texture our vehicle base mesh. To make some things easier for us when we will rig vehicle, we need to join our brake caliper meshes to our base mesh.
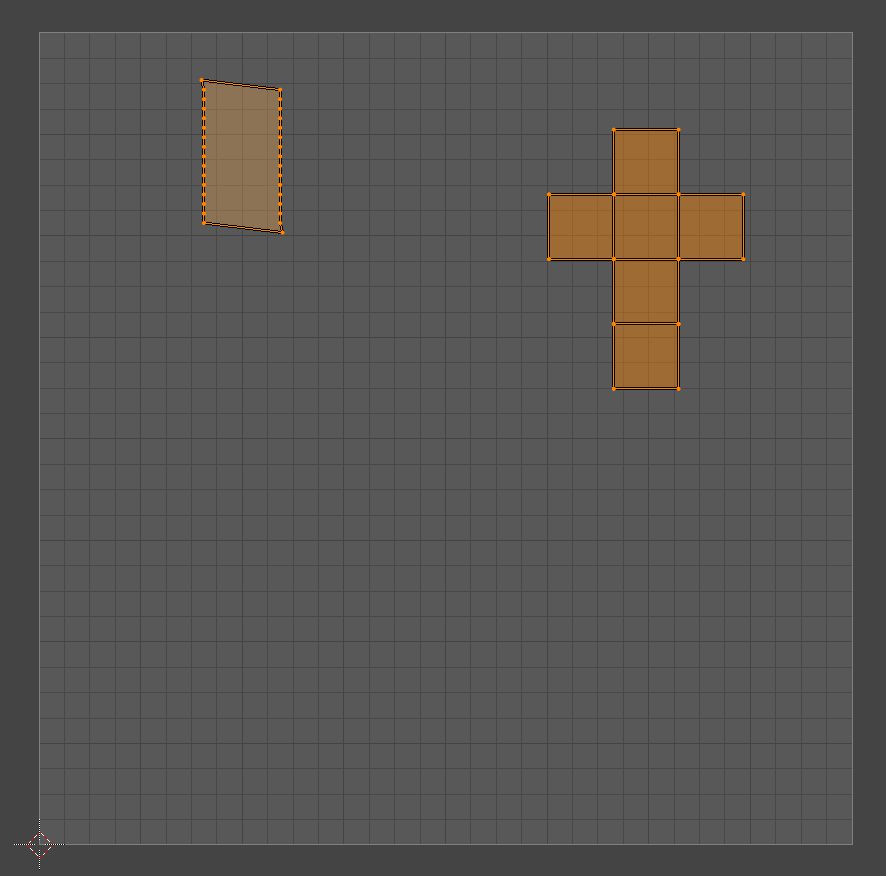
- Select all brake caliper meshes and the base mesh by holding down Shift, make sure that you select base mesh last. You can see how selection should look in the image below.
- Press Ctrl+J to join meshes together.
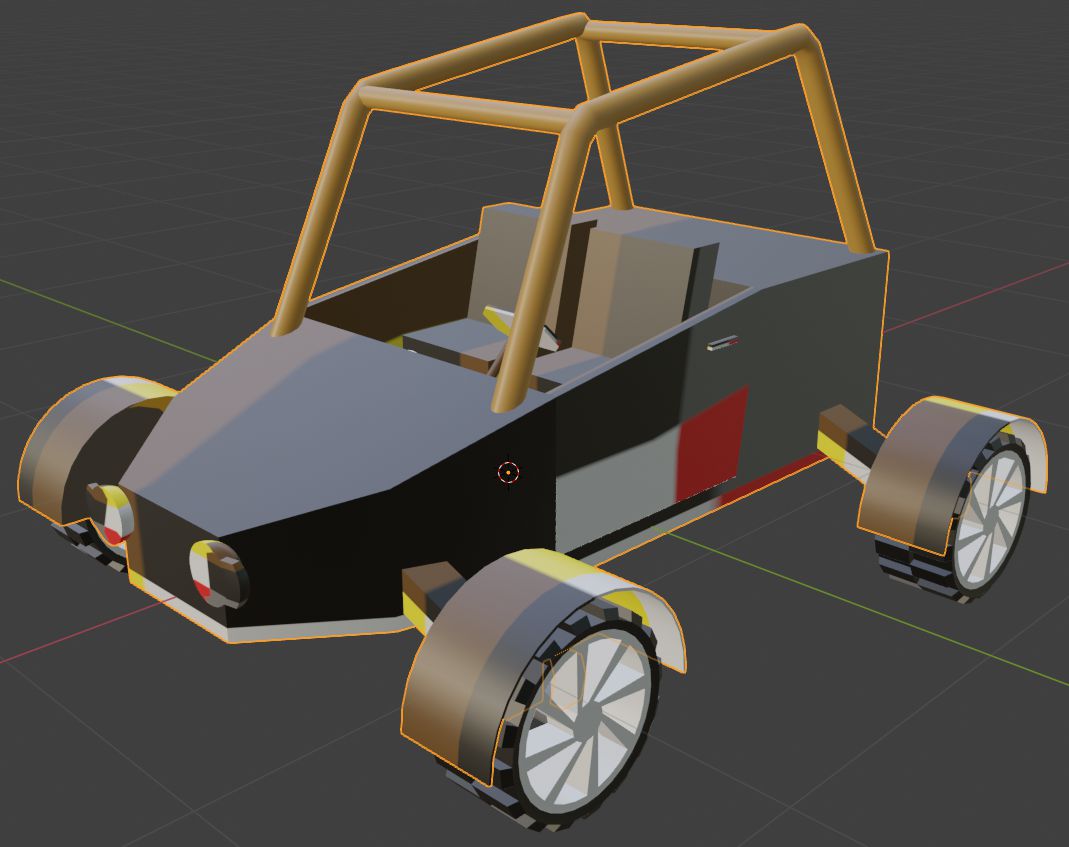
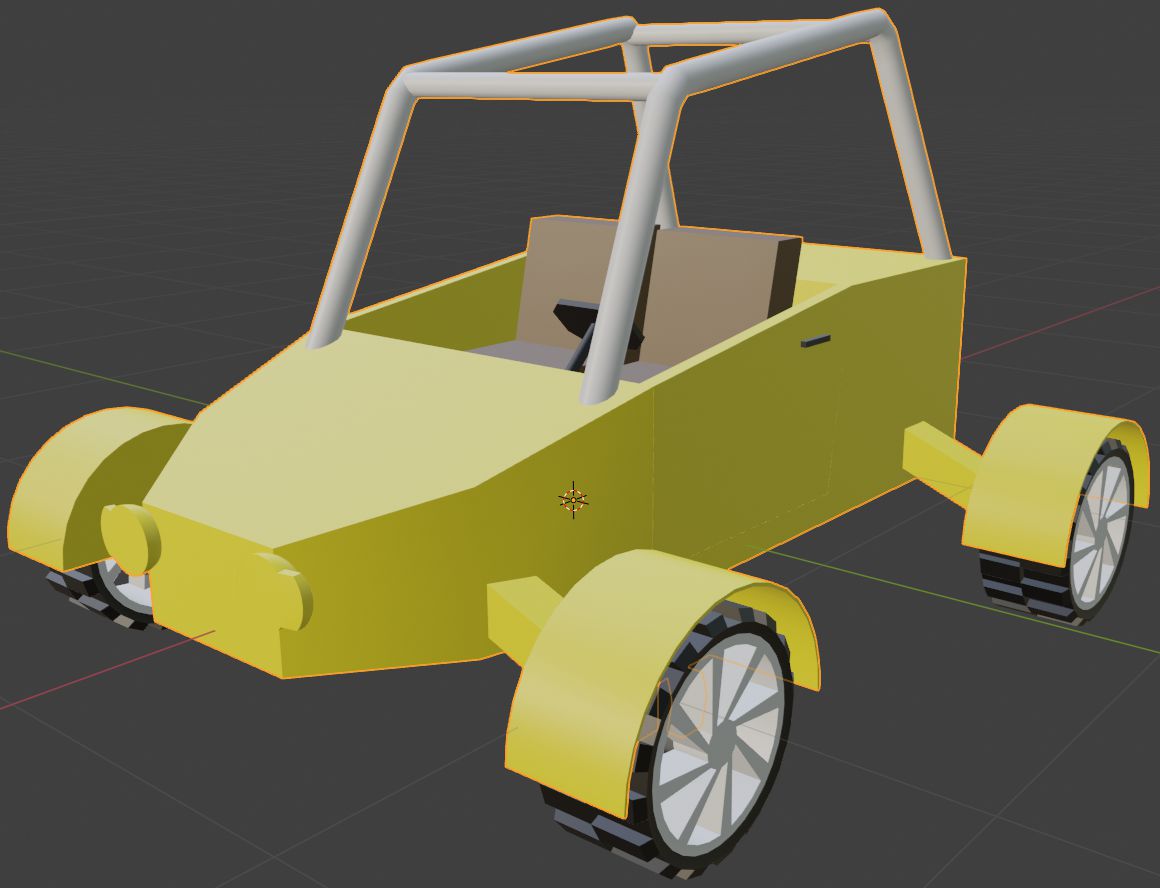
Now we should see that our vehicle base is weirdly colored. Now we go to UV editing workspace and move all UVs around as we did with the wheels before.
- Move vehicle base, doors, front lights, wheel axles and mudguards into the yellow color block.
- Move door handles, steering wheel, speedometer and tachometer into the black color block.
- Move seats into the brown color block.
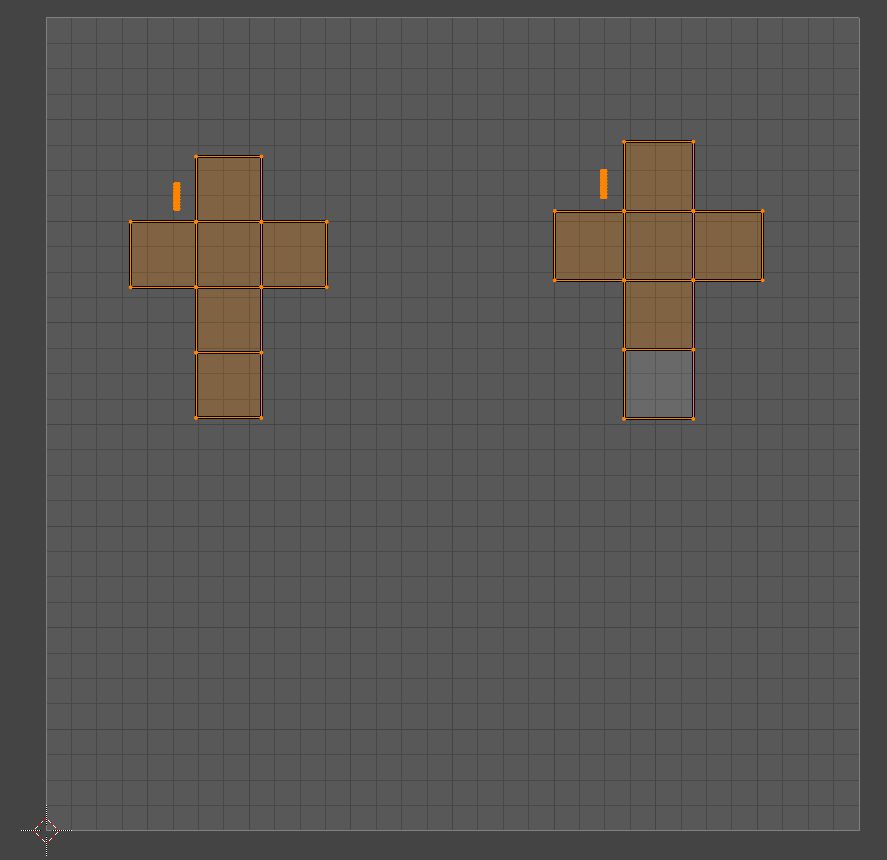
- Move top tubes into the light gray color block. You might need to Unwrap top tubes to see their UVs.
- Don't do anything with tail and turn lights right now.
Front and tail light texturing
For front and tail lights we will make another material, so we could make them as dynamic material instances and change their properties in the UE4.
- Add new material slot in the Material Properties tab by pressing + button.
- Add new material by pressing the New button. I also renamed it to FrontAndTailLights also changed its base color to red.
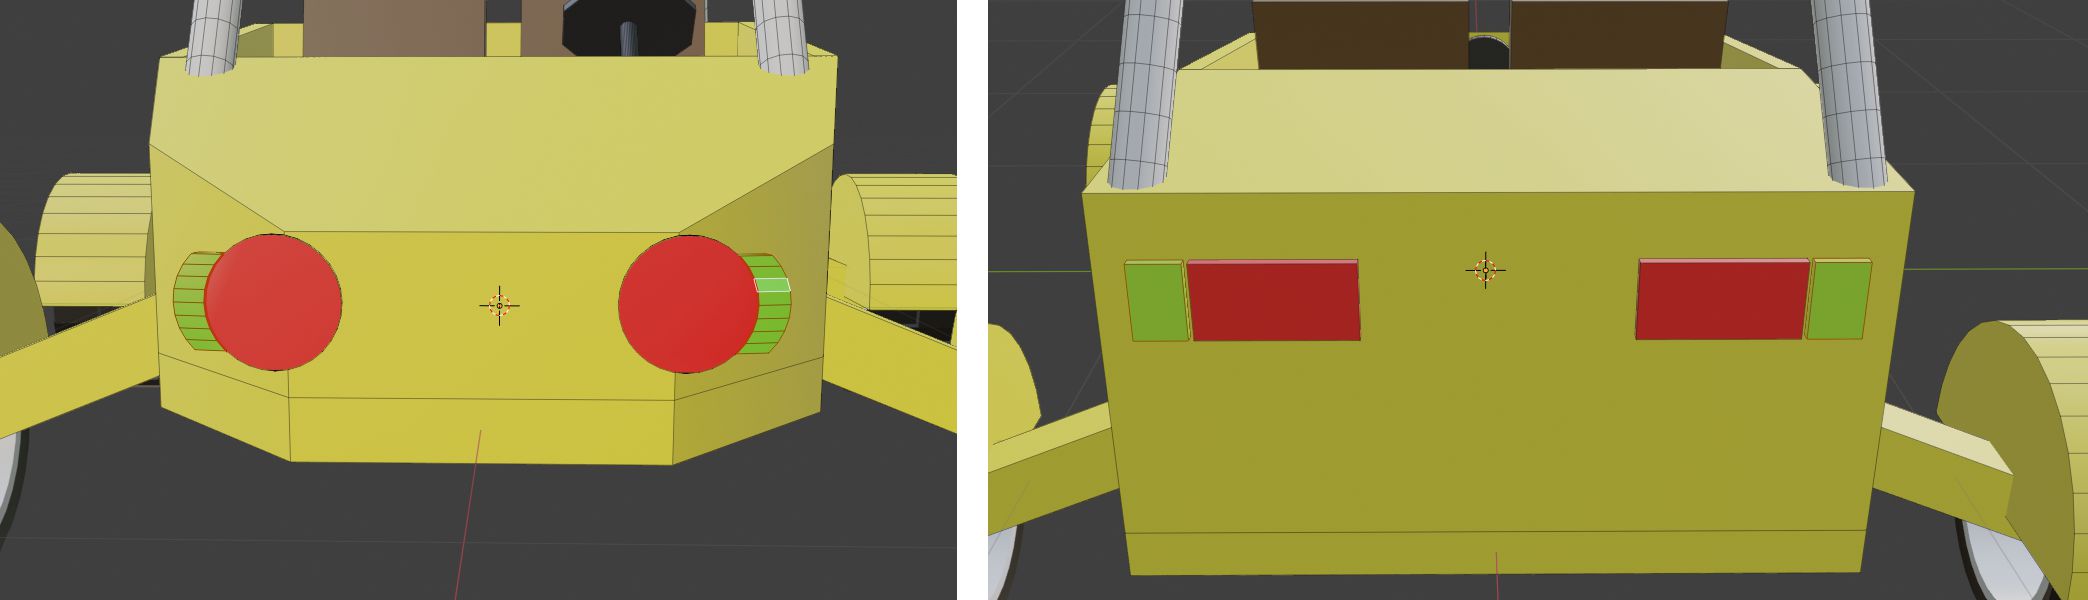
- In the edit mode select front light faces and tail lights, press L to select the whole tail light part. Look for the selections in the image below.
- Select newly created material and click Assign in the Material Properties.

We could have assigned different materials for our front lights and tail lights, but that would have added more draw calls to our model in UE4. One draw call is not a big deal, but this will be a good way to show how to use UV map coordinates in UE4 materials. So we will move front light UVs to one side and tail light UVs to the other side.
- Into the UV Editing workspace move front light UVs to the left side of the grid.
- Move tail light UVs into the right side of the UV grid.
- Imagine that in the middle of the grid there is a line that splits the UV grid in the half and make sure that each of the light UVs is in their side. If you have some difficulties, you can open an image that has separation lines in the middle.
Turn signal light texturing
For turn signals we will make another new material and also use UV separation as we did for front and tail lights.
- Add new material slot in the Material Properties tab by pressing + button.
- Add new material by pressing the New button. I also renamed it to TurnSignalLights also changed its base color to green.
- In the edit mode select all turn lights. Look for the selections in the image below.
- Select newly created material and click Assign in the Material Properties.
Now we will move each side turn signal side UVs to their own side as we did before with the front and tail light UVs.
- Into the UV Editing workspace move left turn signal light UVs to the left side of the grid.
- Move right turn signal light UVs into the right side of the UV grid.
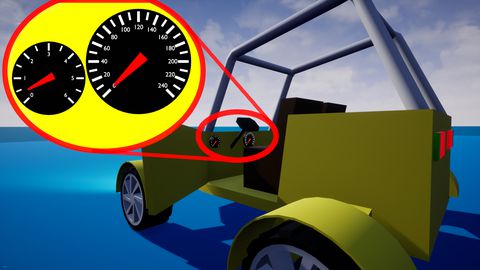
Speedometer texturing
Speedometer texturing will be a little bit harder than just placing its UVs in some place at the UV grid.
- Add new material slot in the Material Properties tab by pressing + button.
- Add new material by pressing the New button. I also renamed it to Speedometer.
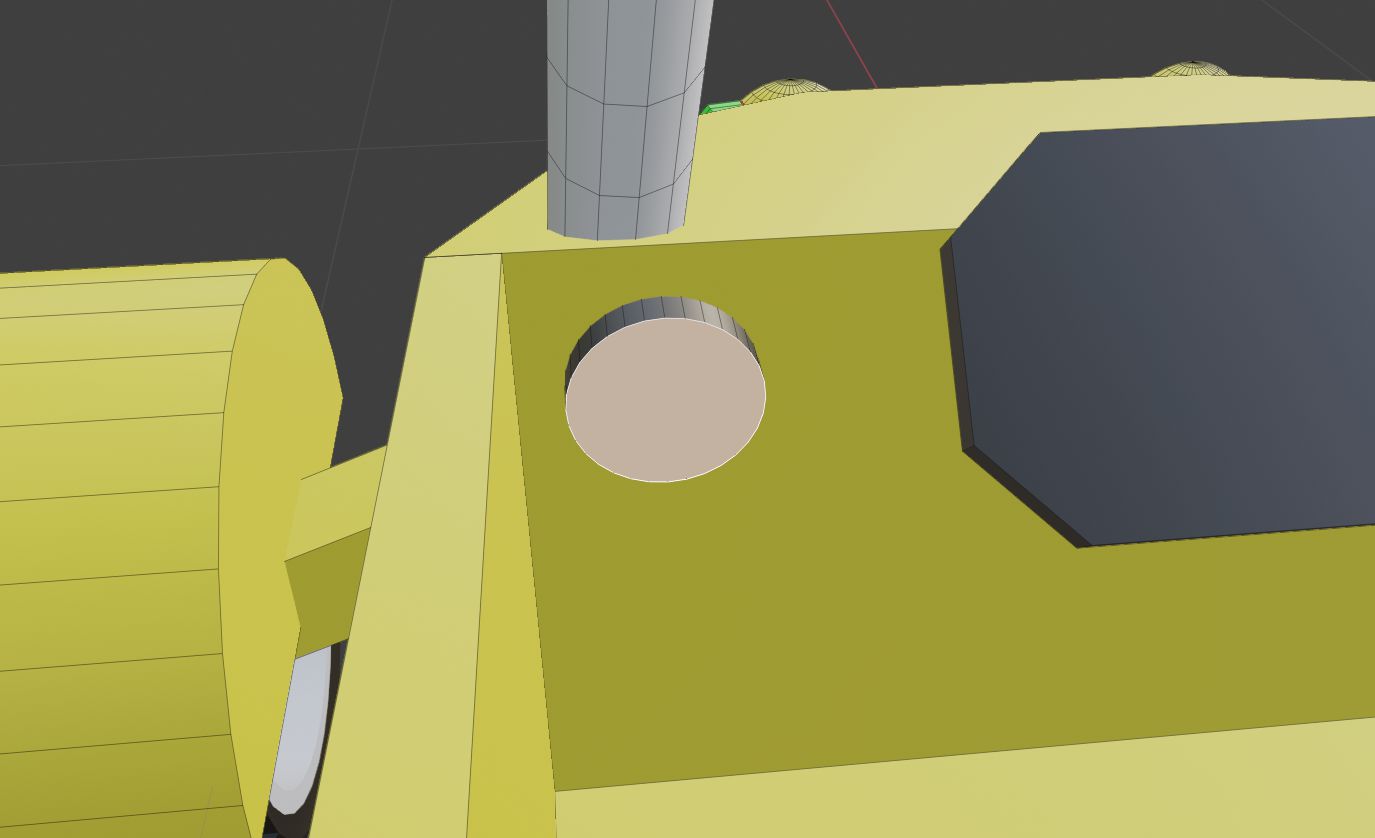
- In the edit mode select speedometer face. Look for the selection in the image below.
- Select newly created material and click Assign in the Material Properties.

Now we need to unwrap our speedometer face, so its circle face would fill up the whole UV grid.
- While the speedometer face is selected switch to orthographic view which looks at the vehicle back. Press Ctrl+Num 3.
- Press U and select Project from View (Bounds).
- Now if you go into UV editor, you should see that we have a circle face filled into the whole UV grid.
- To check if UV's are rotated correctly, switch speedometer material slot material to TextureMaterial, and you should see a result like in the image below.
- If everything looks good, switch material back to Speedometer material.

Tachometer texturing
Tachometer texturing is the same process as we did with speedometer texturing.
- Add new material slot in the Material Properties tab by pressing + button.
- Add new material by pressing the New button. I also renamed it to Tachometer.
- In the edit mode select tachometer face. Look for the selection in the image below.
- Select newly created material and click Assign in the Material Properties.
- While the tachometer face is selected switch to orthographic view which looks at the vehicle back. Press Ctrl+Num 3.
- Press U and select Project from View (Bounds).
- Now if you go into UV editor, you should see that we have a circle face filled into the whole UV grid.
- To check if UV's are rotated correctly, switch tachometer material slot material to TextureMaterial, and you should see a result like in the image below.
- If everything looks good, switch material back to Tachometer material.
Share on
Related Creations
Related Articles
How to get simple suspension animation for vehicle in UE4 with Blender 2.8
Tutorials Blender Unreal Engine
Rigging the vehicle model in Blender | [Part 5] Low poly vehicle for UE4
Tutorials Blender Unreal Engine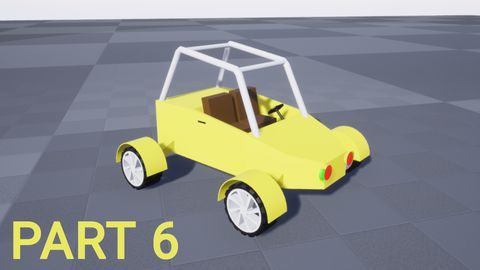
Setting up basic vehicle in Unreal Engine 4 | [Part 6] Low poly vehicle for UE4
Tutorials Unreal Engine
Making openable doors and animated steering wheel | [Part 8] Low poly vehicle for UE4
Tutorials Unreal Engine
Adding speedometer and tachometer and 1st person camera | [Part 10] Low poly vehicle for UE4
Tutorials Unreal Engine
Adding turn signals with automatic turn off | [Part 11] Low poly vehicle for UE4
Tutorials Unreal Engine