Making speedometer and tachometer textures in Blender | [Part 4] Low poly vehicle for UE4
by Arthur Ontuzhan
Posted 6 years, 3 months ago Last edit 2 years, 3 months ago
Categories: Tutorials Blender Tags: Vehicle Blender 2.8
Introduction
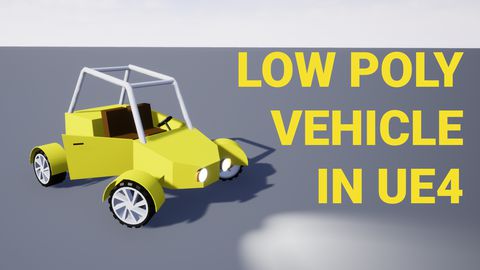
This is the fourth part of the tutorial series on how to create a low poly vehicle for Unreal Engine 4 using Blender and other free software. You can see the outcome of the tutorial series or get project files here.
In this tutorial, we will make speedometer and tachometer textures for our low-poly vehicle. I will use Blender 2.82, but newer versions also should work. We could use vector graphics software or any image editor to create these textures, but to not confuse ourselves with another software, we will just it simply in Blender.
You can find other parts here:
- [Part 1] Modeling low poly vehicle base in Blender.
- [Part 2] Modeling low poly vehicle wheels.
- [Part 3] Texturing the vehicle model.
- [Part 5] Rigging vehicle the vehicle model.
- [Part 6] Setting up basic vehicle in Unreal Engine 4.
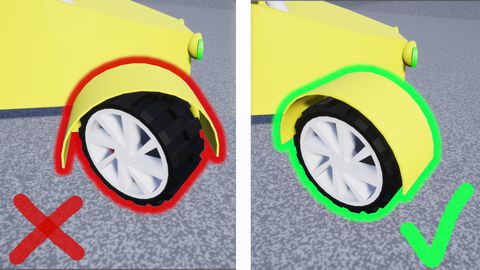
- [Part 7] Making mudguards and brake calipers move together with wheels.
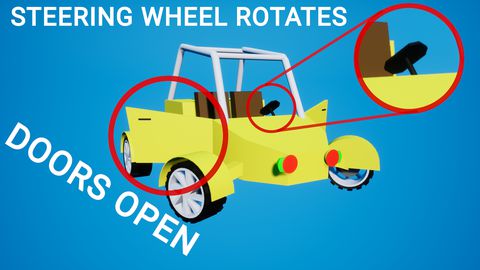
- [Part 8] Making openable doors and animated steering wheel.
- [Part 9] Adding lights and brake lights.
- [Part 10] Adding speedometer and tachometer and first person camera.
- [Part 11] Adding turn signals with automatic turn off.
- [Part 12] Generating and setting up basic engine sounds.
Also, there's a video if you have difficulties to understand some parts.
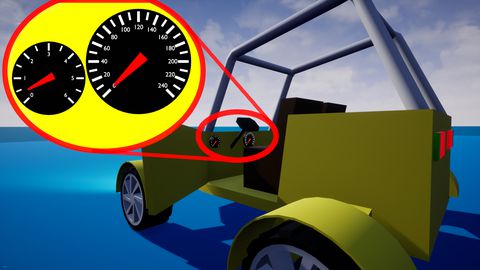
Speedometer texture creation
In the last part, we textured our vehicle but we still need textures for speedometer and tachometer which we will use in UE4. We will start by making a speedometer texture first.
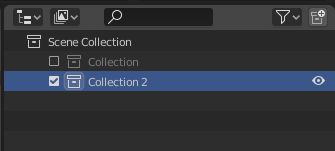
We will start by adding another collection to our previous blender project and hiding the previous collection, so the vehicle model would not bother us.
- Right mouse click in Outliner and then click New and then disable the first collection by unchecking it and select our new scene by clicking on it.
Now we should see an empty scene where we can create our texture. Let's start to create the texture by adding a circle to the scene.
- Press Shift+A and then in Mesh sub-menu select Circle.
- In the Add Circle widget set Vertices to 64.
- Enter edit mode - Press Tab.
- Select all vertices - Press A.
- Make face - Press F.
- Exit edit mode - Press Tab.
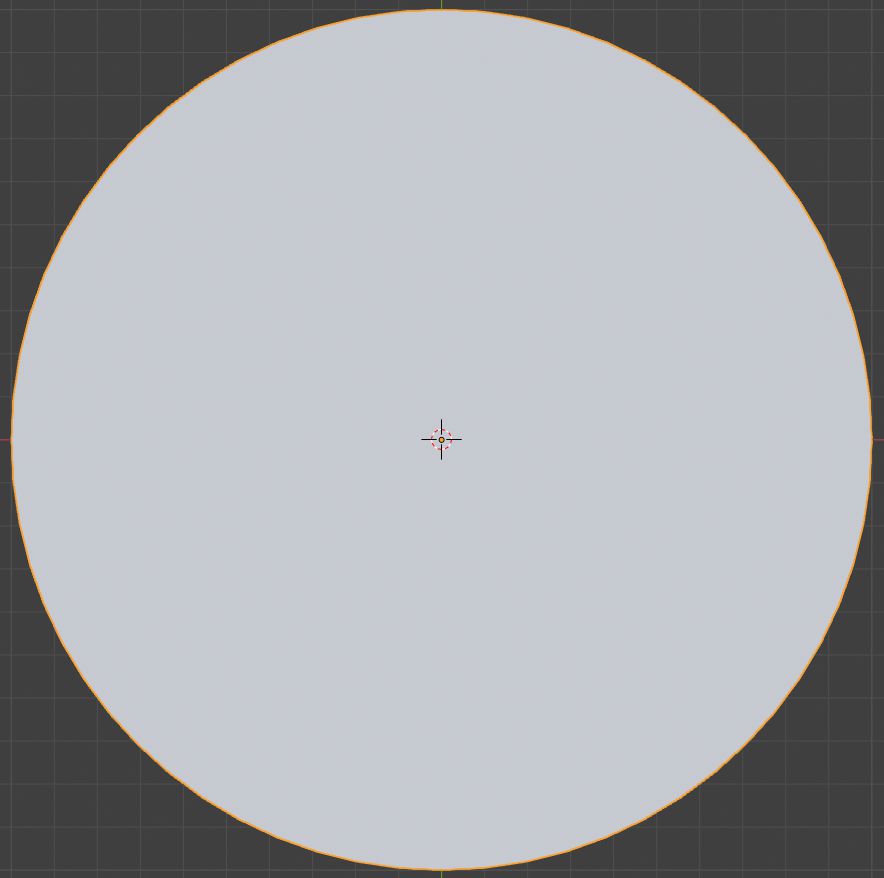
And now we have a basic filled circle in gray color. Let's add a material to it, so we could change its color.
- In the Material Properties section, click on the New button. I also renamed material to BackgroundColor.
- Change the Surface value to the Emission. We need to do this, because when we will render our textures out, we will not use any light sources, so this way materials will emit lights by themselves.
- Change Color to Black.
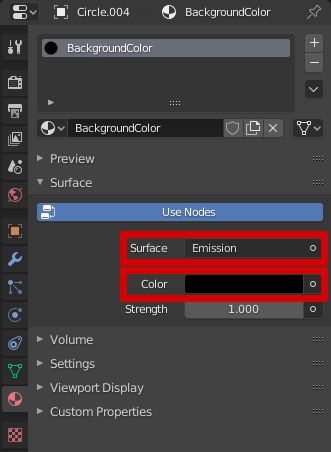
Now we should have a circle in black color. Now we can add stripes from which we will make sections for our speedometer.
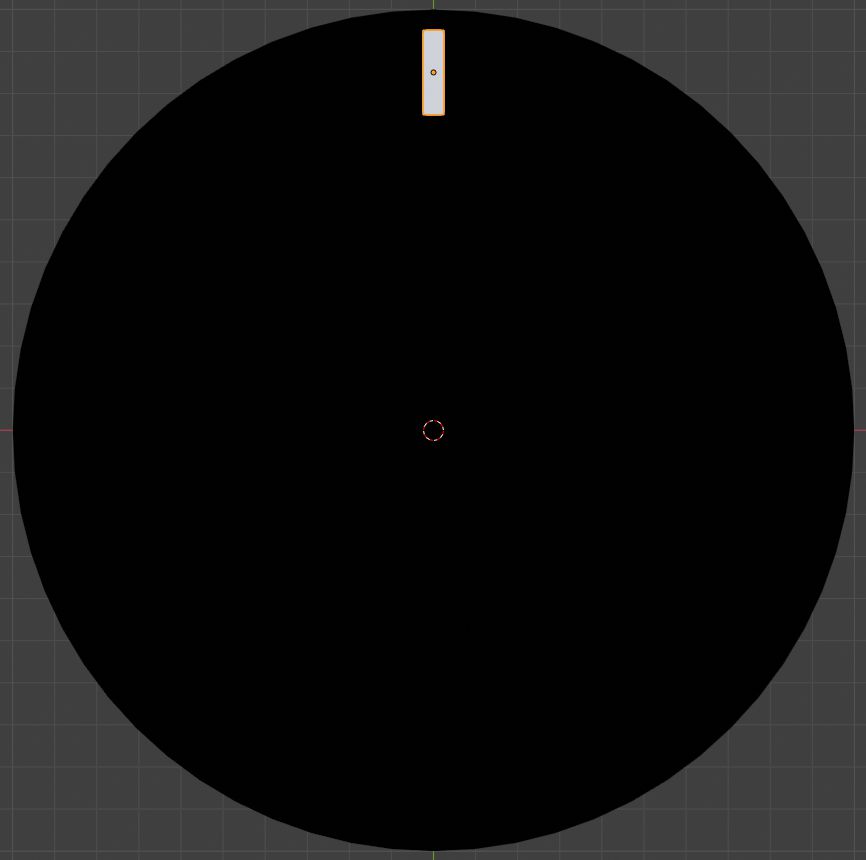
- Press Shift+A and then in Mesh sub-menu select Plane.
- Change its dimensions to X 0.05 m, Y 0.2 m.
- Set its location to X 0 m, Y 0.85 m, Z 0.1 m. We move it on Z axis because we will capture texture from the top and we want it to be above our circle background.
- Add to plane Emissive material like we did with the circle, but set Color to White.
Now we need to duplicate this plane around our circle. There are many ways to do that, we could use an array modifier with an empty, or place them each of parts individually, but I think, that I might have found one of the laziest ways to do that.
- Change Transform Pivot Point to 3D Cursor and make sure that the 3D cursor is at its default location (Shift+C to reset 3D cursor position).
- Now press Shift+D and then press R, then press Z and type 22.5 and press Enter or left mouse click.
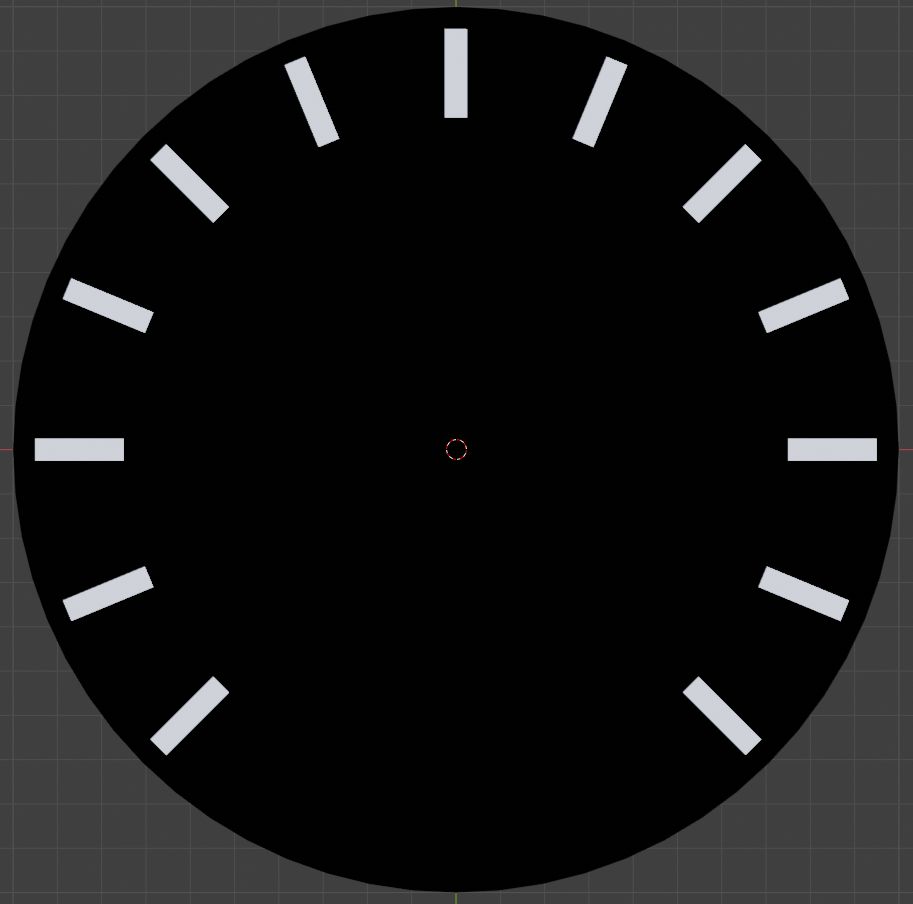
- Now repeat the previous action by pressing Shift+R multiple times until we have planes all around the circle.
- Switch to top Orthographic view by pressing Num 7 and select bottom 3 planes and delete them. See the result in the image below.
Now we will split our made sections into smaller sections with smaller size planes. First, let's add a smaller plane to the scene.
- Press Shift+A and then in Mesh sub-menu select Plane.
- Set its Material as our previous plane had.
- Change its dimensions to X 0.04 m, Y 0.2 m.
- Go into edit mode Tab.
- Select the plane's bottom edge and move it by 0.05 m on Y-axis - select edge then press G then press Y, type 0.05 and accept action by pressing Enter or left mouse click.
- Exit edit mode Tab.
- Set its location to X 0 m, Y 0.85 m, Z 0.1 m.
- Make sure that Transform Pivot Point is still set to the 3D cursor and it is at its default location (Shift+C to reset 3D cursor position).
- Rotate it around circle's center 11.25 degrees - press R, then press Z and type 11.25 and accept action by pressing Enter or left mouse click.

Let's duplicate this plane around the circle like we duplicated the previous one.
- Make sure that Transform Pivot Point is set to 3D Cursor and make sure that the 3D cursor is at its default location (Shift+C to reset 3D cursor position).
- Now press Shift+D and then press R, then press Z and type 22.5 and press Enter or left mouse click.
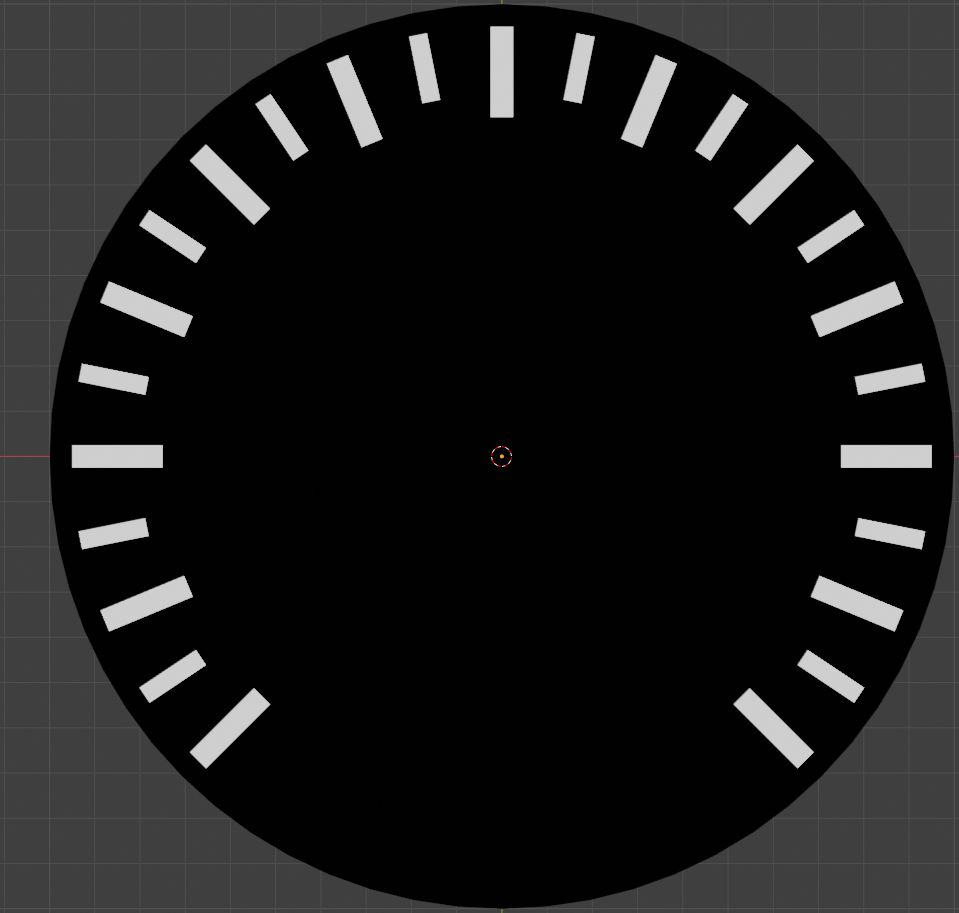
- Now repeat the previous action by pressing Shift+R multiple times until we have planes all around the circle.
- Switch to top Orthographic view by pressing Num 7 and select bottom 4 planes and delete them. See the result in the image below.
All that's left for our speedometer background texture is numbers.
- Press Shift+A and then select Text.
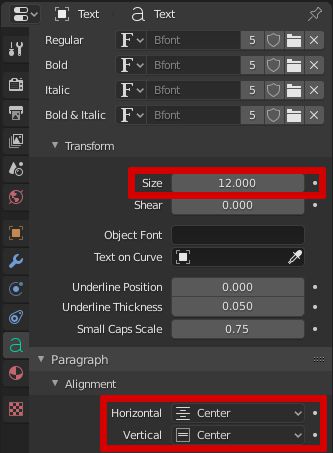
- In the Object Data Properties tab under the Font section set Size to 12.
- And In the Paragraph section set Horizontal Alignment to Center and Vertical Alignment to Center too.
- Move text object by 0.1 on the Z-axis so it would be over the circle plane - press G then press Z, type 0.1 and accept action by pressing Enter or left mouse click.
- Enter edit mode Tab.
- Delete text from our text object and set it to 0.
- Exit edit mode Tab.
- Set the Text Material to the same as our section planes have.
Now we should see the number 0 at the center of our circle. We need to duplicate it and set it next to our section markers.
- Set its location to X 0 m, Y 0.65 m, Z 0.1 m.
- Make sure that Transform Pivot Point is set to 3D Cursor and make sure that the 3D cursor is at its default location (Shift+C to reset 3D cursor position).
- Now press Shift+D and then press R, then press Z and type 22.5 and press Enter or left mouse click.
- Now repeat the previous action by pressing Shift+R multiple times until we have numbers all around the circle.
- Switch to top Orthographic view by pressing Num 7 and select bottom 3 text objects and delete them.
- Select all text objects and reset their rotation by pressing Alt+R.
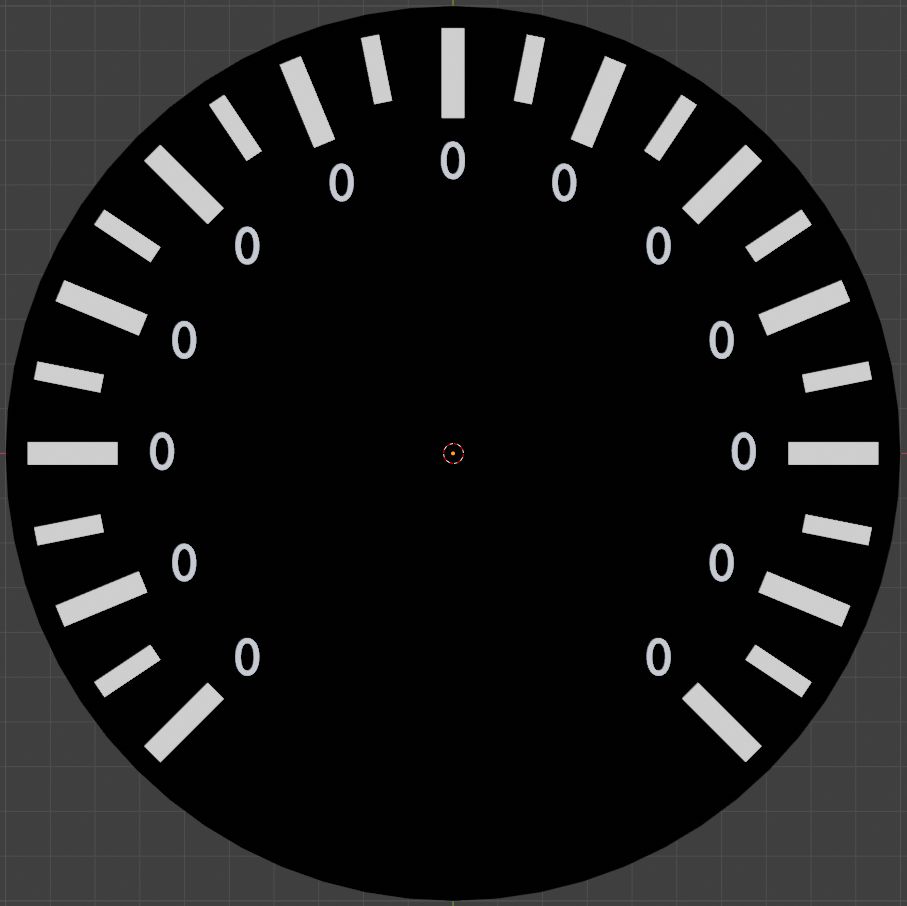
All that's left is to set the right numbers for each text object.
- Select a text object.
- Enter edit mode Tab.
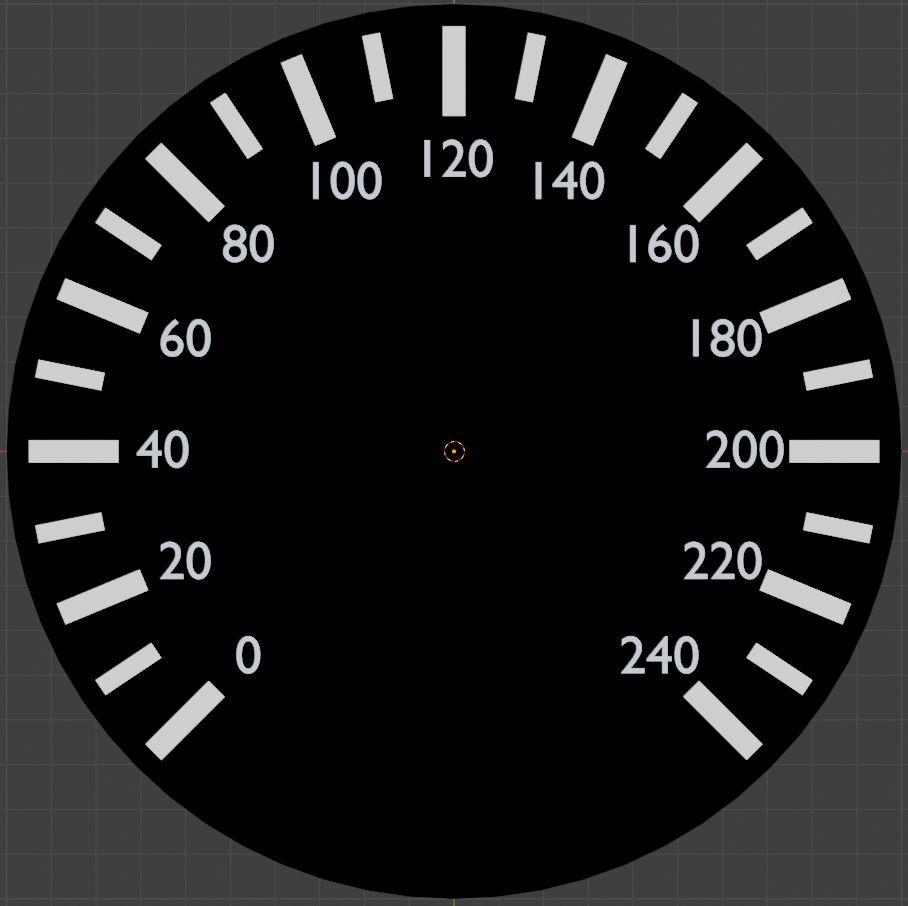
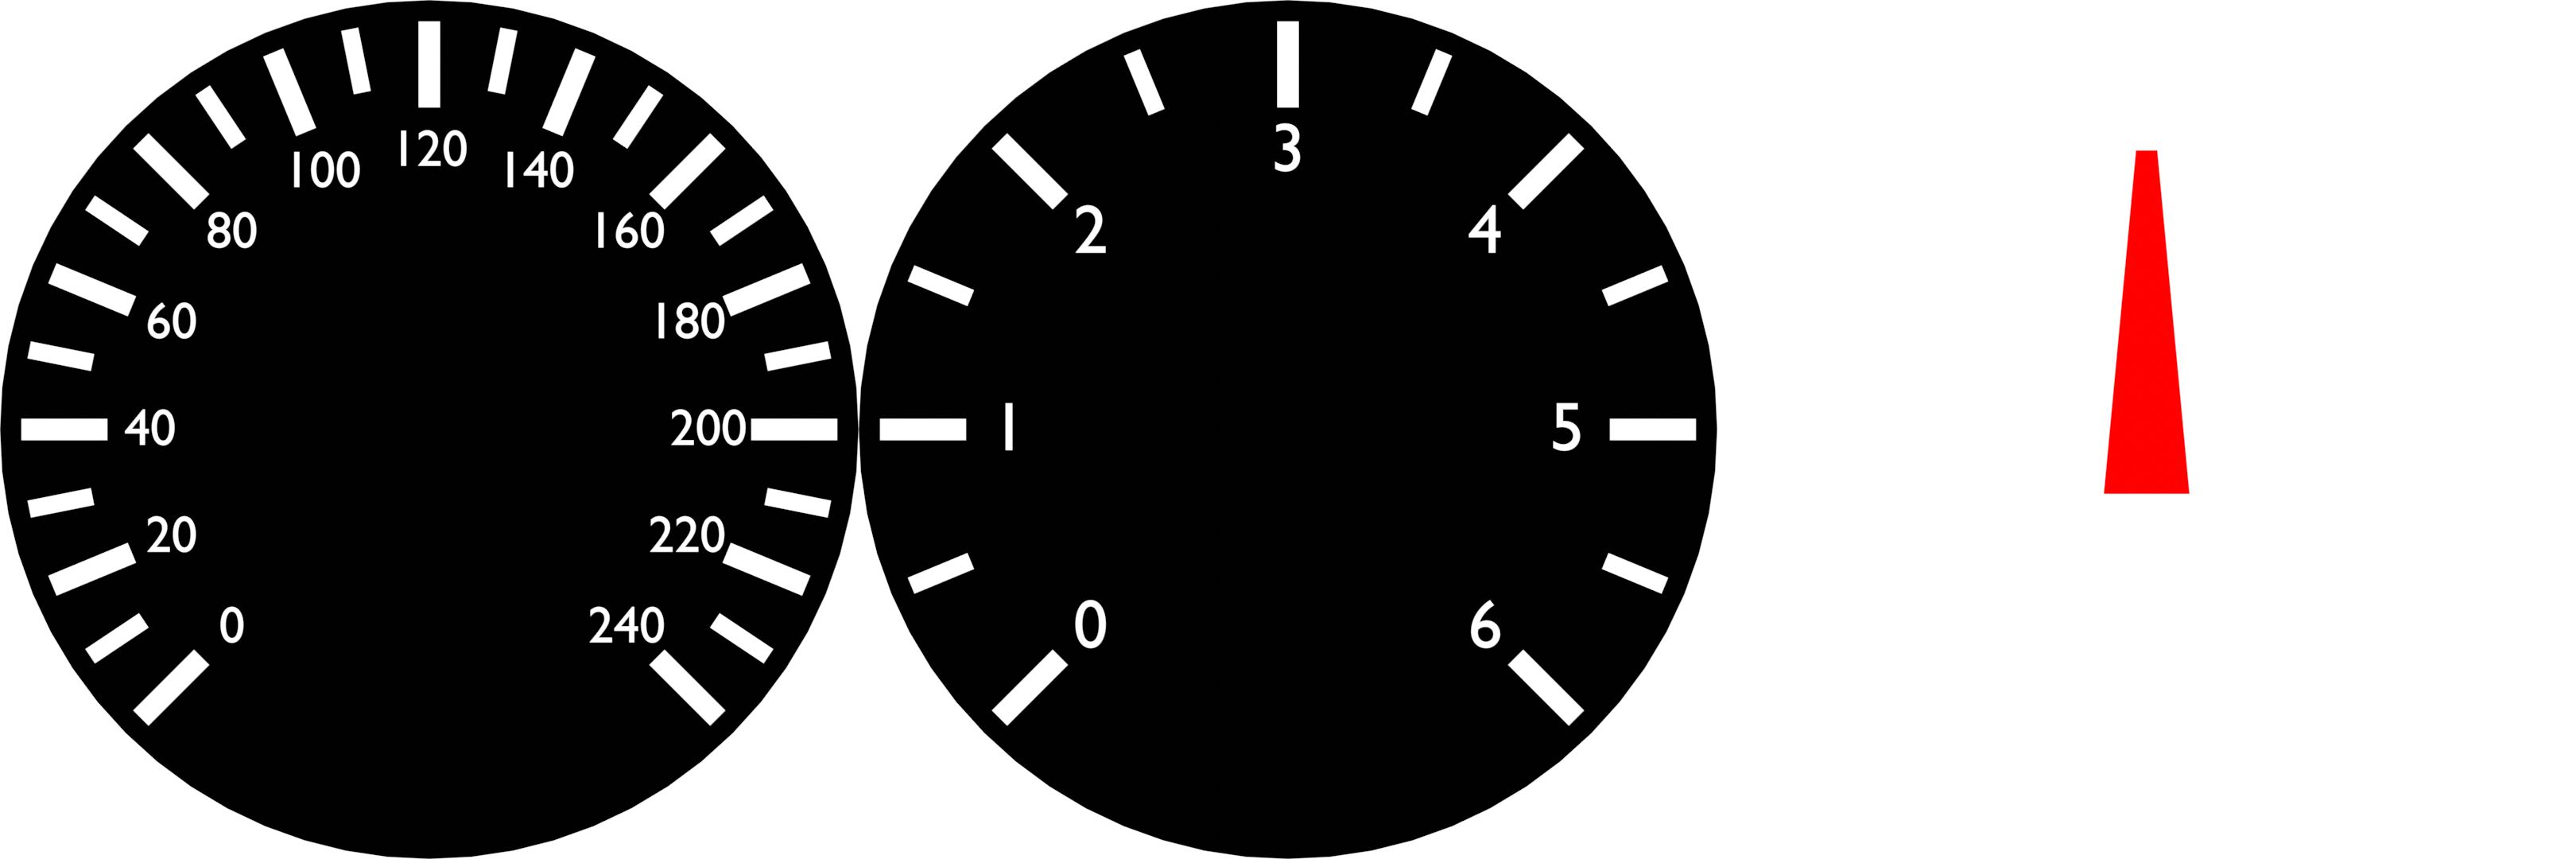
- Change number. You can see the chosen numbers in the image below.
- Exit edit mode Tab.
- Repeat steps to other text objects.
We are done with our speedometer background texture. We could add a camera to our scene and render our texture out, but before we do that, let's make a tachometer background and pointer.
Tachometer texture creation
A tachometer is created in the same way as we created speedometer, but with slight value changes. So in this part, I will have rough steps on what to do.
- Hide speedometer collection and make another collection and select it.
- Add the same circle as we had for the speedometer.
- 64 vertices.
- Fill the circle with a face.
- Set the same Material as we had for the speedometer circle.
- Add a plane.
- Set dimensions to X 0.05 m, Y 0.2 m.
- Set location to X 0 m, Y 0.85 m, Z 0.1 m.
- Set same Material as speedometer plains had.
- Duplicate and rotate 45 degrees around Z-axis (Pivot point on 3D cursor).
- Repeat the previous action by pressing Shift+R until full circle.
- Delete only bottom plane.
- Add another plane.
- Set dimensions to X 0.04 m, Y 0.2 m.
- In edit mode move bottom edge by 0.05 m on Y-axis.
- Set location to X 0 m, Y 0.85 m, Z 0.1 m and rotate by 22.5 degrees around Z-axis (Pivot point on 3D cursor).
- Set the same Material as speedometer plains had.
- Duplicate and rotate 45 degrees around Z-axis (Pivot point on 3D cursor).
- Repeat the previous action by pressing Shift+R until full circle.
- Delete bottom 2 planes.
- Add a text.
- Set its font size to 16.
- Set vertical and horizontal alignment to center.
- Set same Material as speedometer plains had.
- Set text to 0.
- Set location to X 0 m, Y 0.65 m, Z 0.1 m.
- Duplicate and rotate 45 degrees around Z-axis (Pivot point on 3D cursor).
- Repeat the previous action by pressing Shift+R until full circle.
- Delete the bottom text object.
- Select all text objects and reset their rotations Alt+R.
- Set text numbers as in the image below.

Ok. If you did steps, then you should have a tachometer background like in the image above. All that is left for us is to make a pointer that will point on values in our speedometer and tachometer.
Pointer texture creation
Our pointer will consist of a single plane. So it will not be hard to create it.
- Hide tachometer collection and make another collection and select it.
- Press Shift+A and then in Mesh sub-menu select Plane.
- Change its dimensions to X 0.2 m, Y 1.3 m.
- Go into edit mode Tab.
- Select the plane's bottom edge and set its global location to X 0 m, Y -0.15 m, Z 0 m.
- Select the plane's top edge and scale it on X-axis by 0.25 - Select edge, press S and then press X and type 0.25 and press Enter or left mouse click to accept action.
- Exit edit mode Tab.
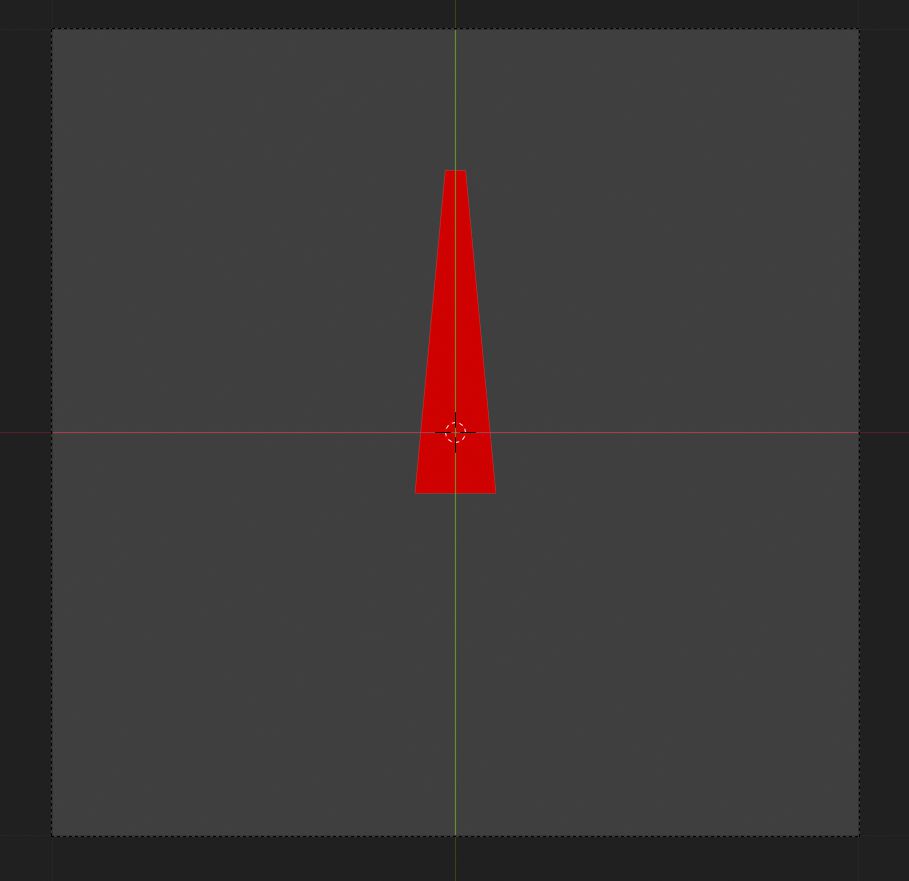
- Add to plane Emissive material like we did in previous parts, but set Color to Red.
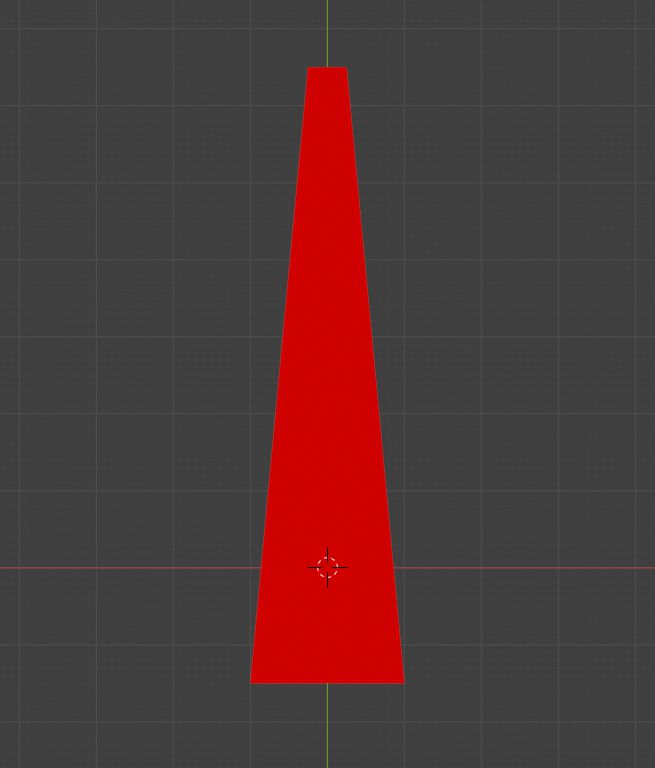
Now you should have pointer like in the image above. Now we are ready to render our textures out.
Rendering textures
At first, we need to set up a camera, so we could render things out.
- Press Shift+A and then select Camera.
- Reset camera rotation by pressing Alt+R.
- Move camera above our objects which we will render - Press G and then press Z, type 2 and press Enter or left mouse click to accept action.
- Into Object Data Properties tab set Lens Type to Orthographic and set Orthographic Scale to 200.
- Switch to camera view - press Num 0 or go to View -> Viewpoint -> Camera.
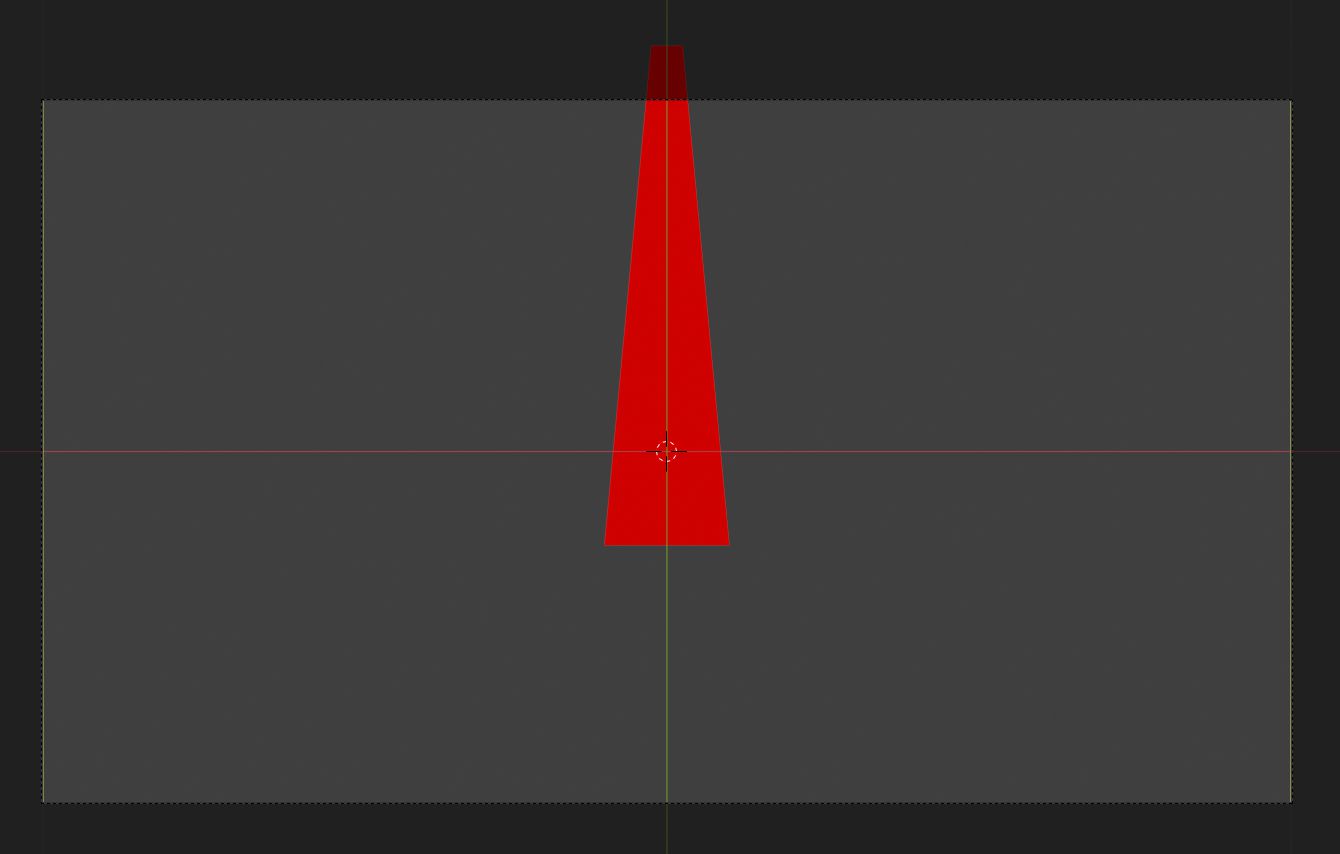
Now we see that our camera view is in a rectangular shape, but for our use case, it would be better to have a square shape. So we need to change our output resolution, so both sides would be the same size.
- Into Output Poperties tab set Resolution X and Y to 1080px.
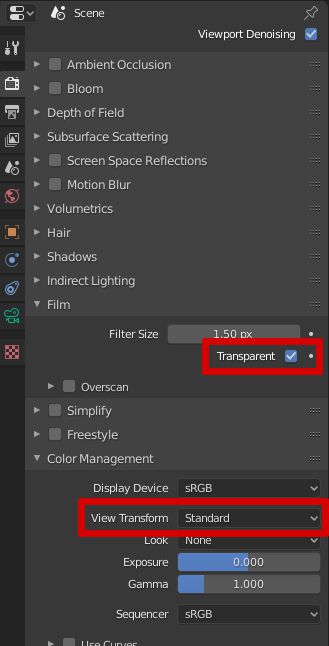
If we would render our textures right now, we would see that they have a gray background. For our case, we need a transparent background. Also, you might notice that we have a slight color grading for our textures, we need to turn off that too.
- Into Render Properties tab in Film section check Transparent and in Color Management section set View Transform to Standard.
Now we can render out our textures.
- Press F12 or Render -> Render Image.
- In the opened Render window go to Image -> Save As... and decide where to save your image.
- Close Render window and disable currently enabled collection and enable collection from which we want to render out our texture.
- Repeat previous steps until we have all our 3 textures saved.
After you render all textures, you should get 3 textures that we will use later when we will set up our vehicle in UE4.
Share on
Related Creations
Related Articles
How to get simple suspension animation for vehicle in UE4 with Blender 2.8
Tutorials Blender Unreal Engine
Rigging the vehicle model in Blender | [Part 5] Low poly vehicle for UE4
Tutorials Blender Unreal Engine
Setting up basic vehicle in Unreal Engine 4 | [Part 6] Low poly vehicle for UE4
Tutorials Unreal Engine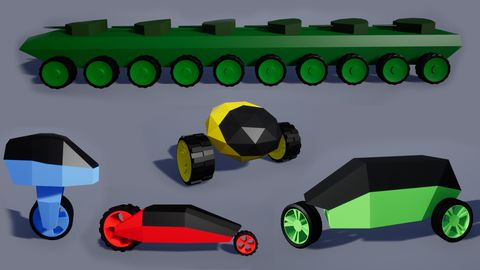
Making openable doors and animated steering wheel | [Part 8] Low poly vehicle for UE4
Tutorials Unreal Engine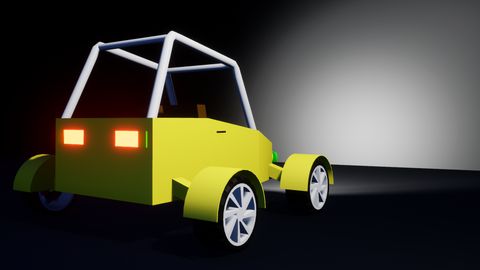
Adding speedometer and tachometer and 1st person camera | [Part 10] Low poly vehicle for UE4
Tutorials Unreal Engine
Adding turn signals with automatic turn off | [Part 11] Low poly vehicle for UE4
Tutorials Unreal Engine