Adding turn signals with automatic turn off | [Part 11] Low poly vehicle for UE4
by Arthur Ontuzhan
Posted 5 years, 7 months ago Last edit 2 years, 3 months ago
Categories: Tutorials Unreal Engine Tags: Vehicle UE4
Introduction
This is the eleventh part of the tutorial series on how to create a low poly vehicle for Unreal Engine 4 using Blender and other free software. You can see the outcome of the tutorial series or get project files here.
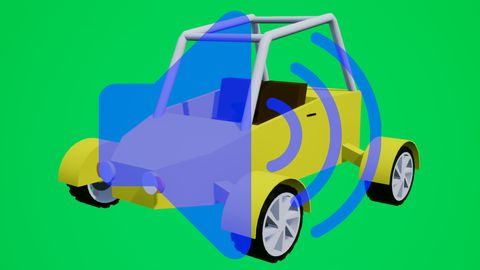
In this tutorial, we will add turn signals with automatic turn off to the vehicle.
You can find other parts here:
- [Part 1] Modeling low poly vehicle base in Blender.
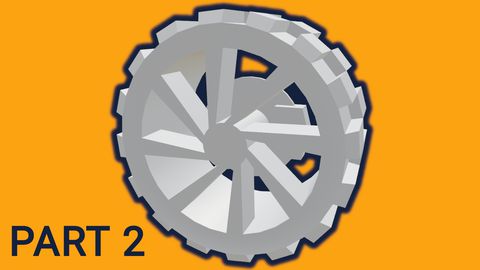
- [Part 2] Modeling low poly vehicle wheels.
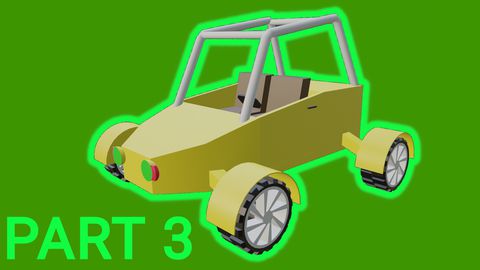
- [Part 3] Texturing the vehicle model.
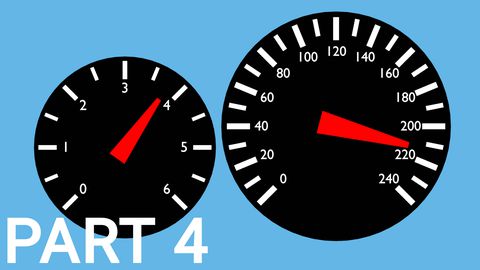
- [Part 4] Making speedometer and tachometer textures.
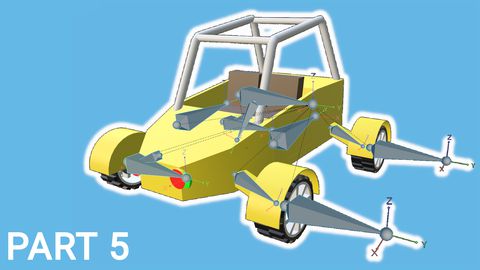
- [Part 5] Rigging vehicle the vehicle model.
- [Part 6] Setting up basic vehicle in Unreal Engine 4.
- [Part 7] Making mudguards and brake calipers move together with wheels.
- [Part 8] Making openable doors and animated steering wheel.
- [Part 9] Adding lights and brake lights.
- [Part 10] Adding speedometer and tachometer and first person camera.
- [Part 12] Generating and setting up basic engine sounds.
Also, there's a video if you have difficulties to understand some parts.
Turn signal sound import
We will need sound effects for our turn signals. You can download them here. Remember to export them before importing. Also, you can wait for the next tutorial and see how we make them in LMMS.
- Make a new folder named Sounds. It's placed at the same level as Materials, Meshes and other folders.
- Open Sounds folder.
- Import both sound files.
Making material for turn signals
If you have followed previous tutorials, then you should have all turn signal lights in green color. Also, our left turn signal UVs should be on the left side of the UV map and the right side turn signal UVs should be on the right side of the UV map. In a similar way as we have them for front and tail lights. You can check how to do that in this tutorial.
Also, we will use the material that we made for the vehicle's lights and brake lights. You can find how to make it here.
- Open Material folder.
- In the content browser right-click on the material that was created for the vehicle lights. It was named M_VehicleLights.
- In the menu select Create Material Instance.
- Rename the newly created material instance to MI_TurnSignalLights or whatever you like.
- Open it.
- Set its Left Color and Right Color parameter to orange. Hex value for the color I used - #FF6200FF.

Now we can open our vehicle's skeletal mesh asset and change its turn signal material to the material instance we just made.
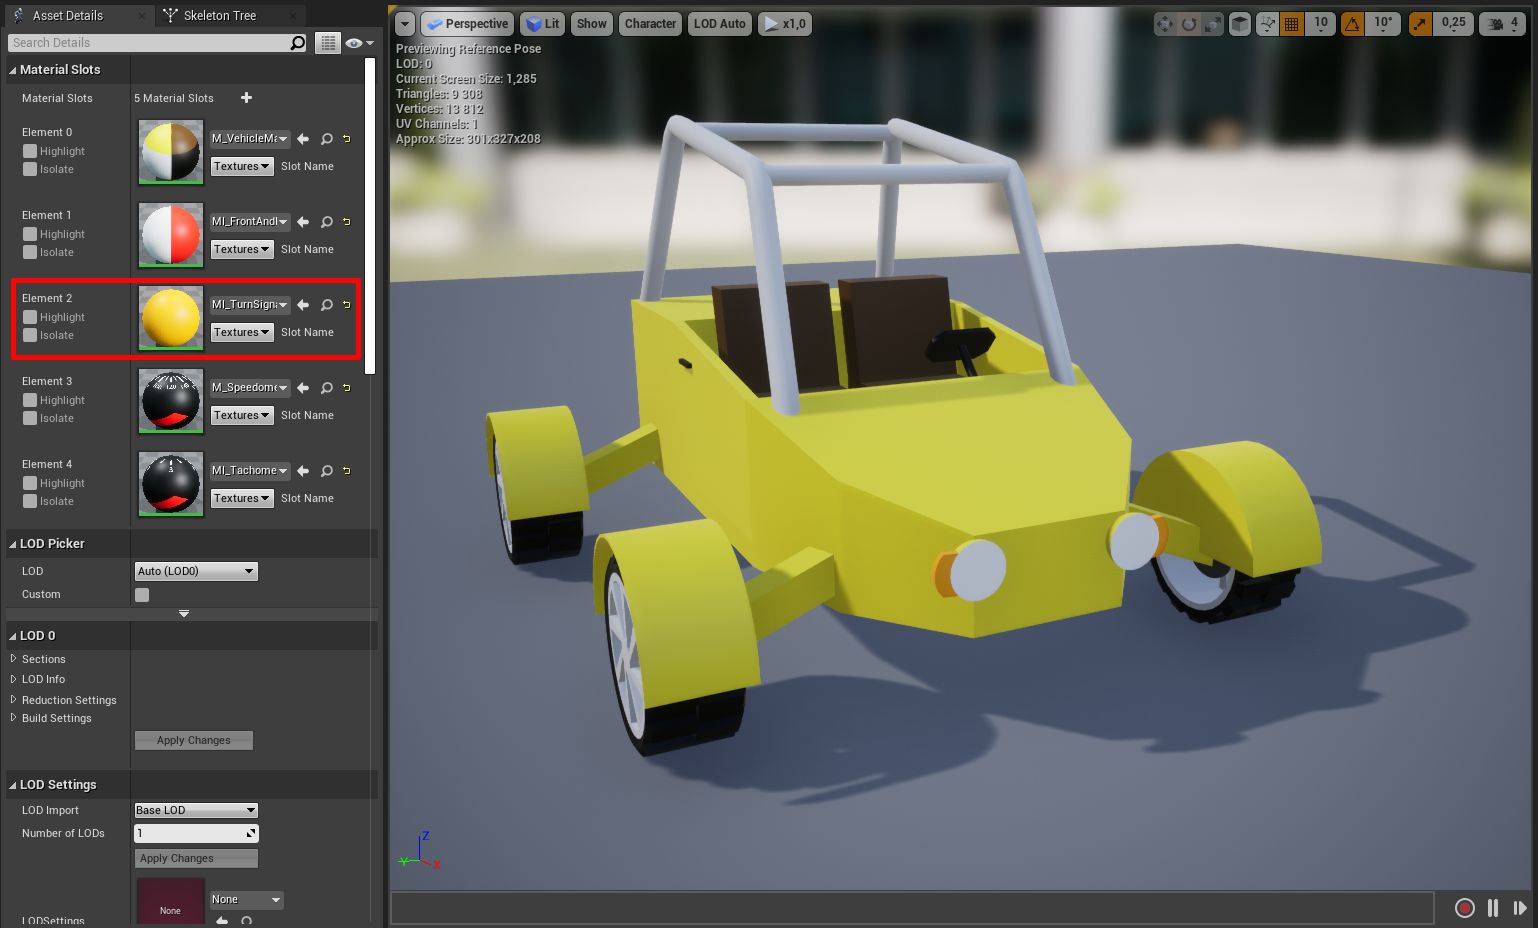
Now, after we have changed the material, we should see that our turn signals are in orange color now.
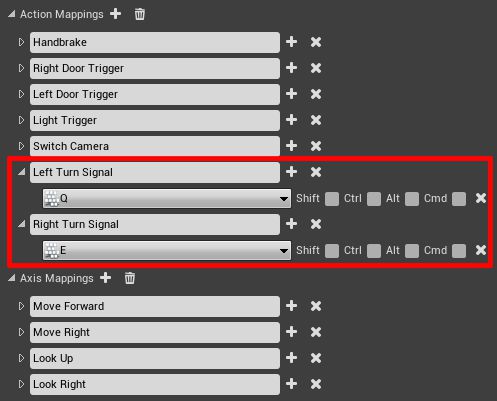
Choose your own keys that feel right for you. I chose Q and E.
Vehicle blueprint
Now we can set up things in our vehicle blueprint.
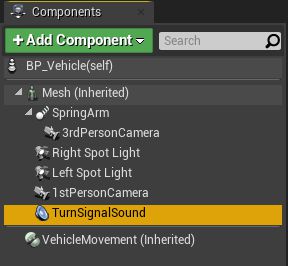
Let's start by adding an audio component to our vehicle that will play our turn signal sound.
- Under the Mesh component, add an Audio component as a child.
- Rename it to TurnSignalSound. Also optional step.
- In the Audio component details set its location to X 50 Y 0 Z 0. Set it to where you want your turn signal sound come from.
Now we need to create Dynamic Material Instance so we could change emission value for Turn Signal material at the runtime.
- Open ConstructionScript function.
- Make blueprints that you see in the image below. Remember to set correct material index.

In the previous tutorials, we have made dynamic materials for the front and brake lights and speedometer, and tachometer. This time we are doing the same thing as we did in previous tutorials: we create dynamic material and then promote it as a variable.
Now we can add logic for turning on and off turn signals. At first, we will add a few boolean type variables that we will use for determining turn signal states.
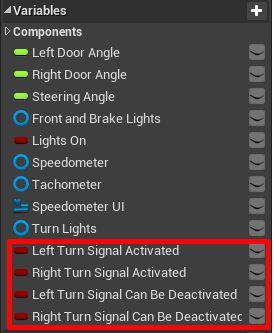
As you can see, we added 4 boolean variables to our vehicle blueprint. The first two variables will determine if turn signals are turned on or off, and the last two will be used for automatic turn signal turn off. Also, their all default value is false.
Now we can make functions for turning on and off turn signals. Let's start by making a function for turning on the left turn signal. By turning it on, I mean turning its light on, not fully activating it. You can see the function in the image below.
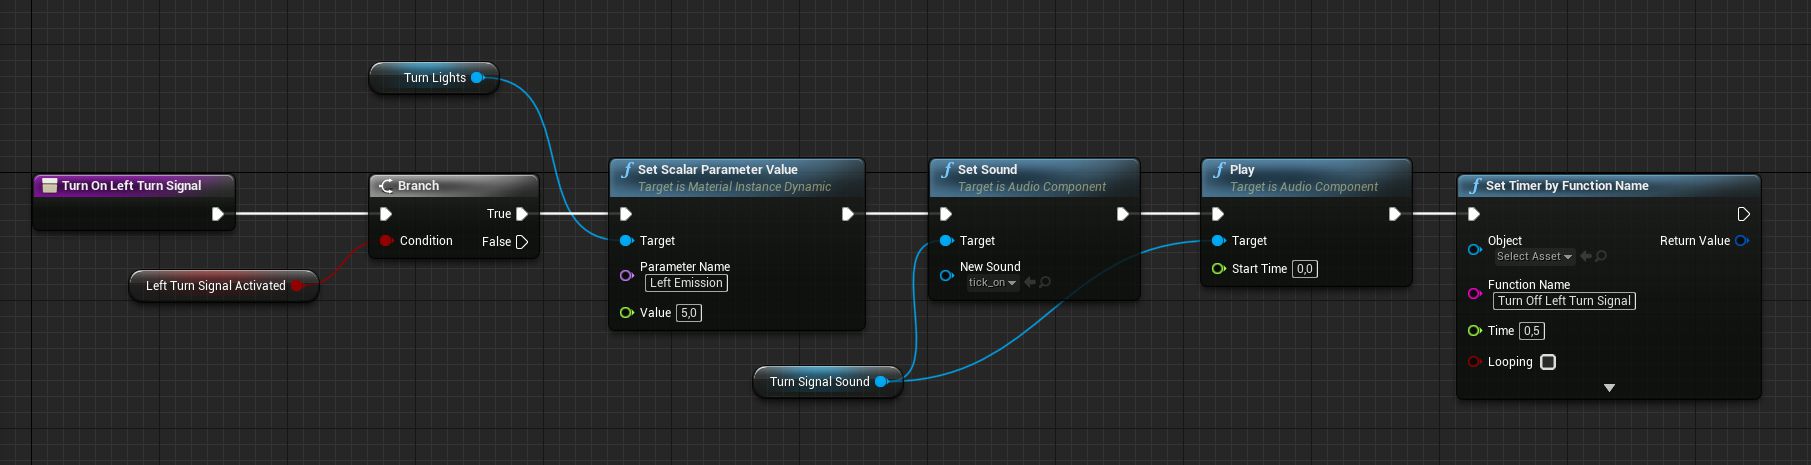
So in this function at the start, we check if the left turn signal is activated. If it is, we take Turn Signal dynamic material and change its Left Emission value to 5, so it would look like the turn signal light is on. After that, we set our Turn Signal audio components sound to the Tick On sound and then play it. And at the end, we set a timer that will run a Turn Off Left Turn Signal function after 0,5 seconds.
We could make a function that would work for both sides with some additional input parameters, but for the sake of simplicity, we will just make another function for the right side. You can just copy this function and then change Left Turn Signal Activated boolean to the Right Turn Signal Activated, change the scalar parameter value to Right Emission. And change timer function name to the right turn off function name.
Ok, we have functions for turning on lights for turn signals, now we need functions to turn them off. You can see the function for turning the left turn signal off in the image below.
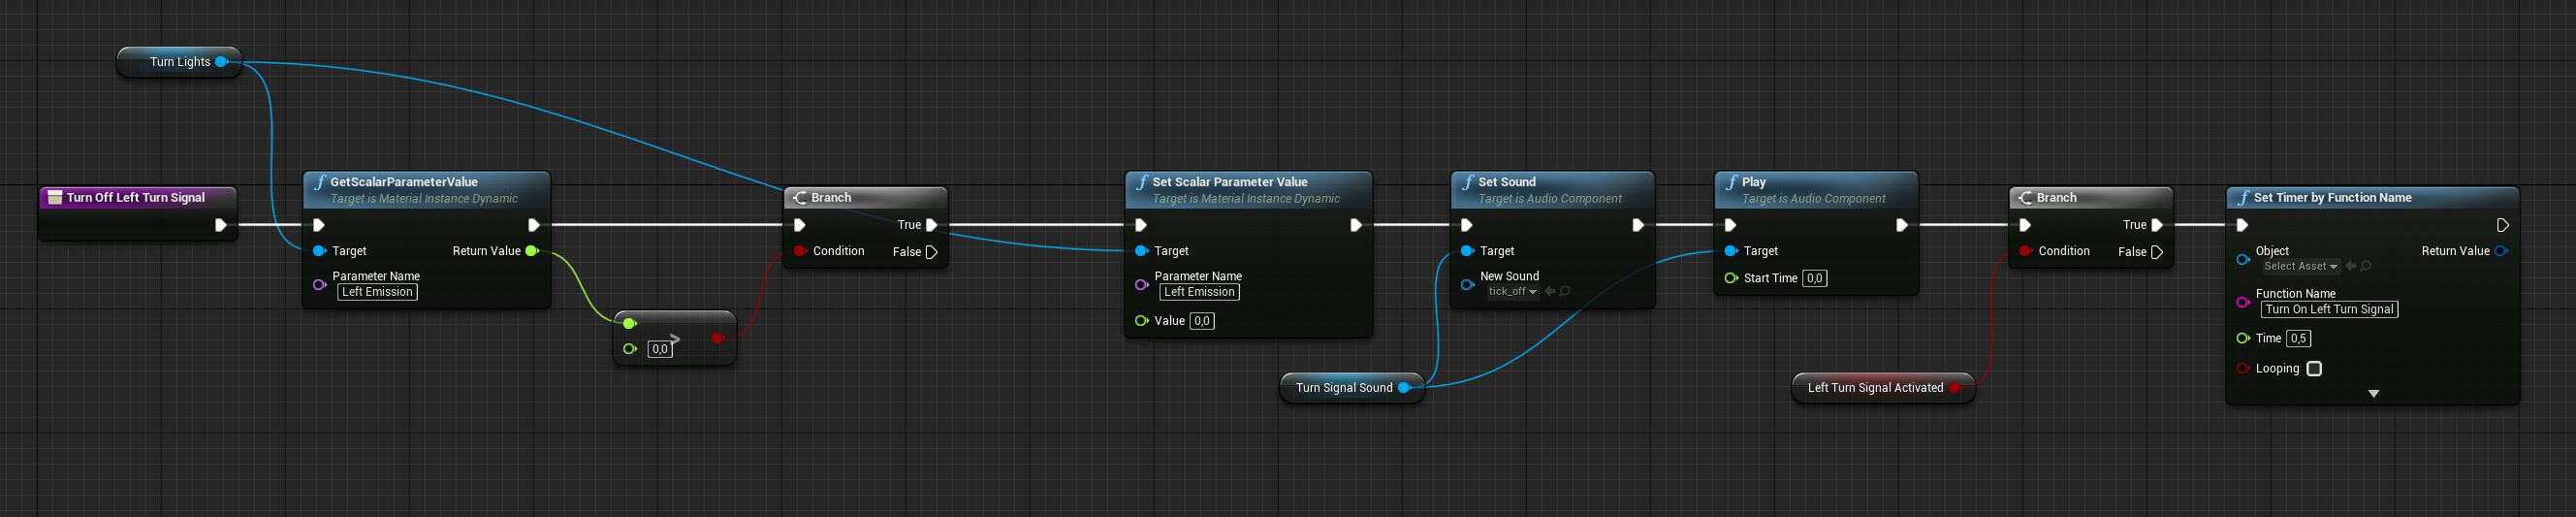
So in this function at first we check if the Left Emission scalar parameter for the Turn Signal dynamic material is bigger than 0. If it is, then we set the scalar parameter to 0, set our Turn Signal audio components sound to the Tick Off sound, and then play it. And at the end, we check if Turn Signal is still activated, if it is, then we just set a timer that will run a Turn On Left Turn Signal function after 0,5 seconds.
We also need to make another function that will turn off the right turn signal. You can just copy this function and then change Left Turn Signal Activated boolean to the Right Turn Signal Activated, change the scalar parameter value to Right Emission. And change timer function name to the right turn off function name.
Now we can set up our turn signal inputs in the Event Graph. You can see the blueprints in the image below.
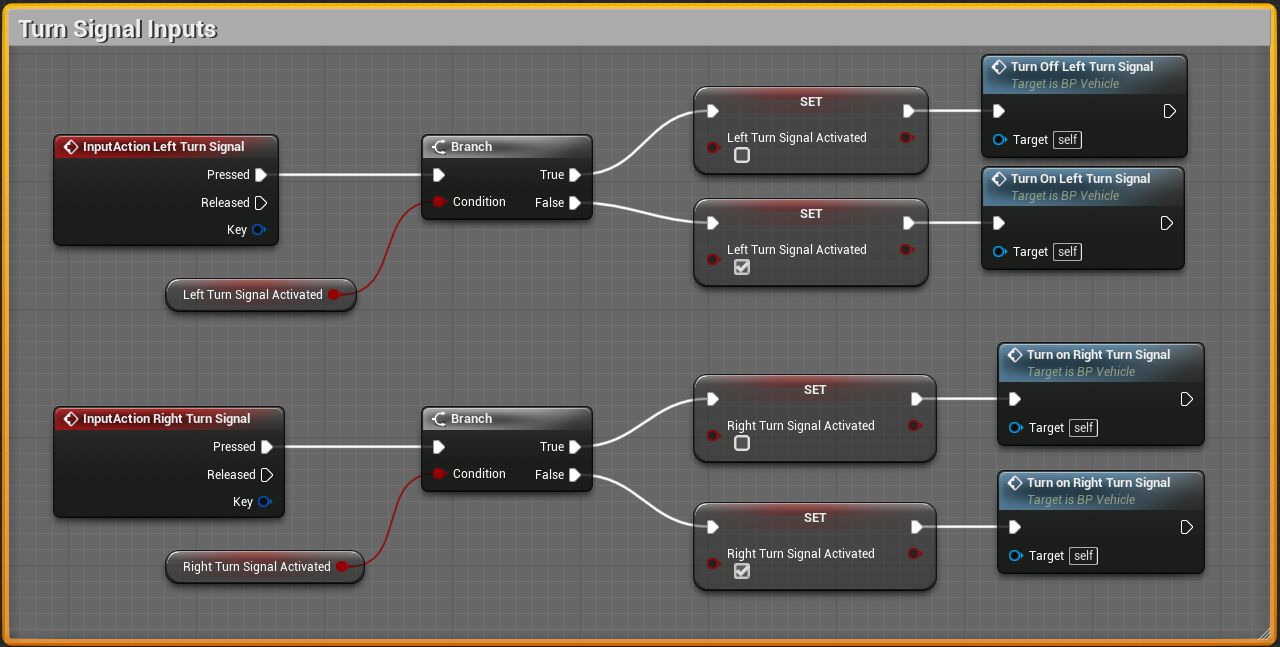
Logic in these pretty simple. Check if the turn signal activated. If activated, then change its state boolean to false call the turn off function, if not activated, then change state to true and call the turn on function.
Right now our turn signals should work. We could turn them on and off by using our bound inputs, but they will not turn off automatically after we will take the turn with the vehicle. For that, we need to make another function. You can see the function in the image below.
What does this function do? We have a sequence node at the start, that has 2 outputs. One output checks for the left turn signal and the second checks for the right turn signal. So at the start, it checks if the turn signal is activated. If the turn signal is activated, then we look, if we have turned the vehicle's wheels in the turn signal direction over some angle. In this function, we check our wheel angle by using the Steering Angle variable that we have made in one of the previous tutorials. In this case, we are checking if Steering Angle is over 20 degrees on the turning signal side. If it goes past 20 degrees, then we set a boolean value, that we can deactivate the turn signal to true. Now, when we have set boolean for the deactivation to true, next time we will check if we have moved our steering wheel below 20 degrees, and if it is below, then we set both booleans for the side to false and call turn off function for the side.
This newly made function also will not work if we will not call it anywhere. So let's hook up to the tick event.

Now we should have a vehicle that has turn signals that can be automatically turned off after moving a steering wheel, similarly like in real vehicles. You might see that it's possible to turn on both turn signals at the same time. You can fix that by adding a few more checks on input events, but I didn't do that in here just for the sake of simplicity.
Share on
Related Creations
Related Articles
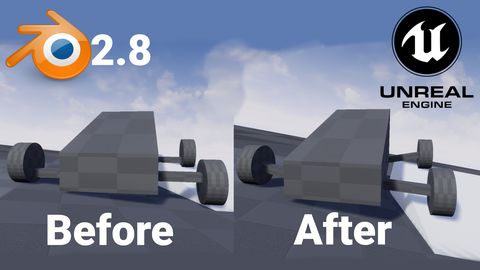
How to get simple suspension animation for vehicle in UE4 with Blender 2.8
Tutorials Blender Unreal Engine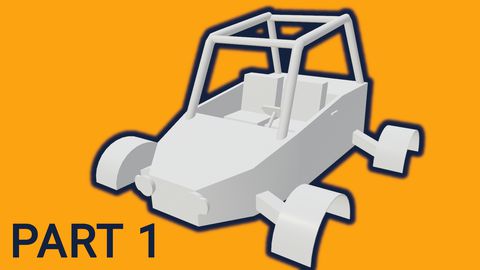
Rigging the vehicle model in Blender | [Part 5] Low poly vehicle for UE4
Tutorials Blender Unreal Engine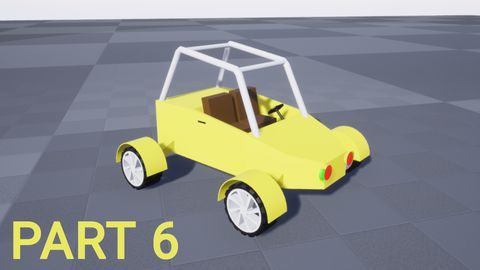
Setting up basic vehicle in Unreal Engine 4 | [Part 6] Low poly vehicle for UE4
Tutorials Unreal Engine
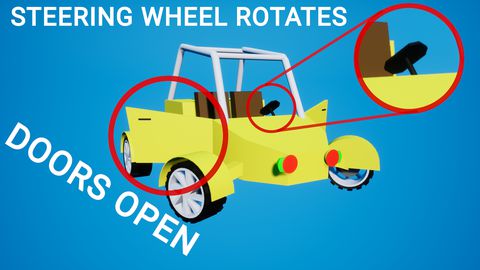
Making openable doors and animated steering wheel | [Part 8] Low poly vehicle for UE4
Tutorials Unreal Engine
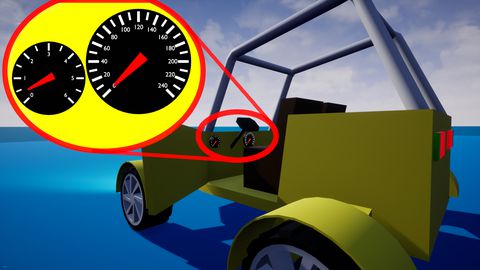
Adding speedometer and tachometer and 1st person camera | [Part 10] Low poly vehicle for UE4
Tutorials Unreal Engine