Adding lights and brake lights | [Part 9] Low poly vehicle for UE4
by Arthur Ontuzhan
Posted 5 years, 11 months ago Last edit 2 years, 3 months ago
Categories: Tutorials Unreal Engine Tags: Vehicle UE4
Table of contents
Introduction
This is the ninth part of the tutorial series on how to create a low poly vehicle for Unreal Engine 4 using Blender and other free software. You can see the outcome of the tutorial series or get project files here.
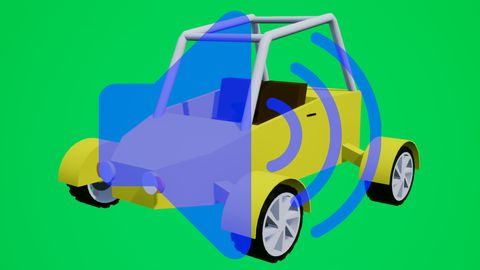
In this tutorial, we will add lights and brake lights to the vehicle.
You can find other parts here:
- [Part 1] Modeling low poly vehicle base in Blender.
- [Part 2] Modeling low poly vehicle wheels.
- [Part 3] Texturing the vehicle model.
- [Part 4] Making speedometer and tachometer textures.
- [Part 5] Rigging vehicle the vehicle model.
- [Part 6] Setting up basic vehicle in Unreal Engine 4.
- [Part 7] Making mudguards and brake calipers move together with wheels.
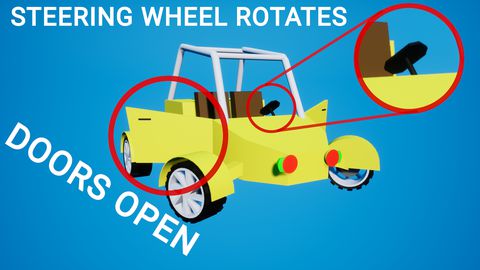
- [Part 8] Making openable doors and animated steering wheel.
- [Part 10] Adding speedometer and tachometer and first person camera.
- [Part 11] Adding turn signals with automatic turn off.
- [Part 12] Generating and setting up basic engine sounds.
Also, there's a video if you have difficulties to understand some parts.
Making material for lights
If you have followed previous tutorials, then you should have front and tail lights in red color without any glow. Just plain red color.
Also, you should have noticed, that we have only one material for our front and tail lights. Shouldn't we need material for each of them? If we look back at the tutorial where we textured our vehicle, we should see that we moved front lights to one UV side and tail lights to other side.
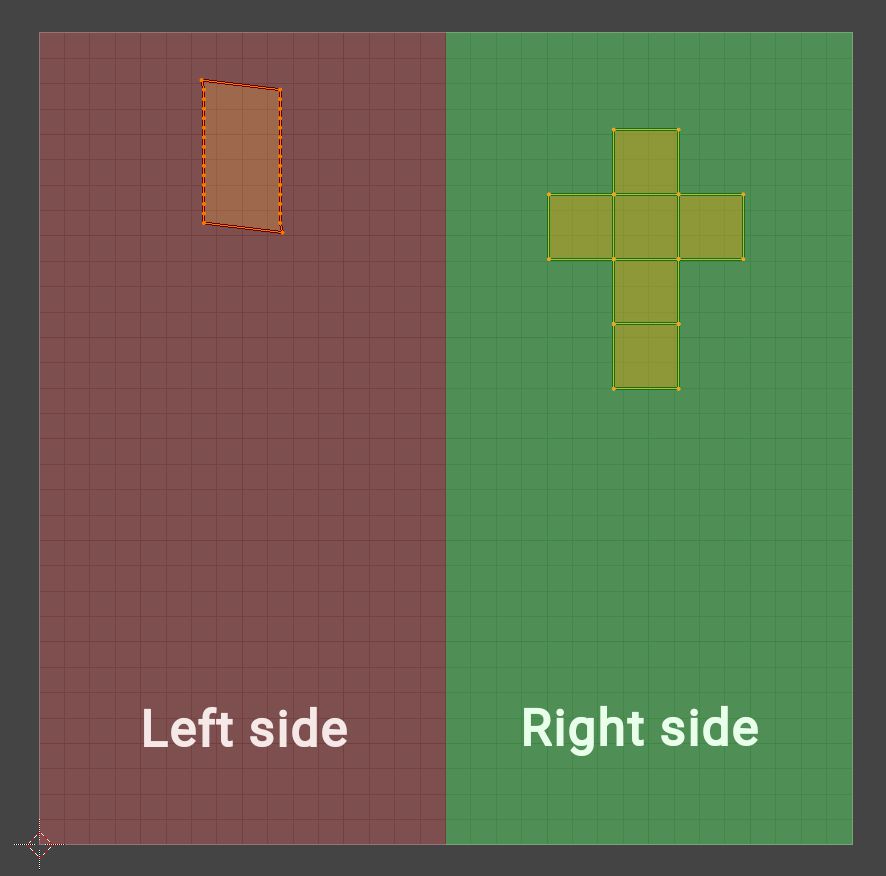
As you can see in the image above, we have the front light UVs on the left side and the tail light UVs on the right side of the UV grid. By knowing that, we can check UV coordinates in our material and then decide for which lights we are setting color and other things.
But why don't we simply make material for each light? More materials used equals to more draw calls. In our case it probably wouldn't hurt performance if we used separate material for each light, I just wanted to show a way how to save some draw calls if you ever experience problems with them.
So let's make our master material for lights.
- Open Material folder.
- Create new material there and name it M_VehicleLights or whatever you like.
- In new material make blueprints like in the image below.
- Compile, save and close it.
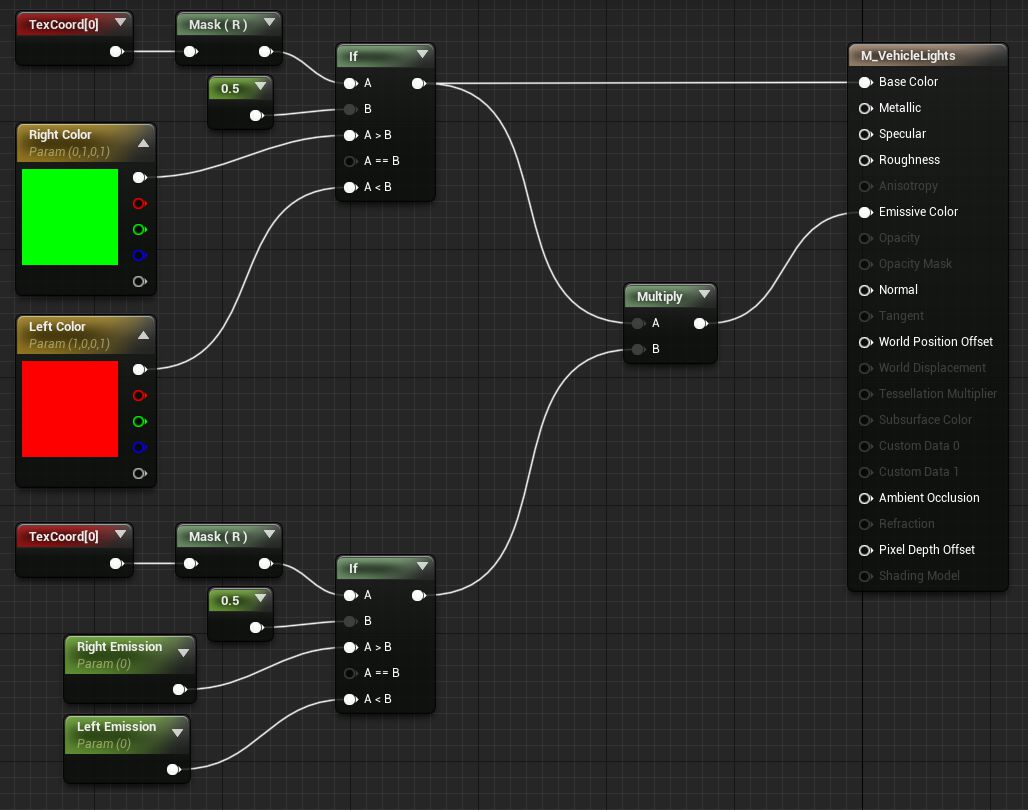
This will be our parent material for our front and tail lights, also we will use it for our turn signals in one of the next tutorials.
Let's make a material instance from material which we just created, so we could use it as our front and tail light material.
- In the content browser right click on the material we just created. I named it as M_VehicleLights.
- In the menu select Create Material Instance.
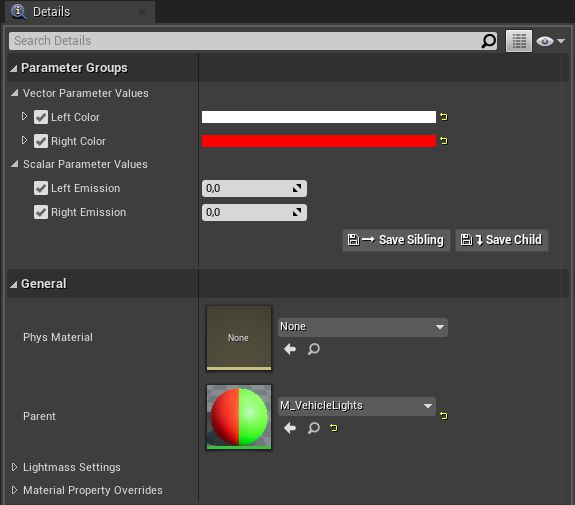
- Rename newly created material instance to MI_FrontAndBrakeLights or whatever you like.
- Open it.
- Set its Left Color parameter to white and Right Color to red. Make sure that Left Emission and Right Emission is set to 0.
Now we can open our vehicle's skeletal mesh asset and change its front and tail light material to the material instance we just made.
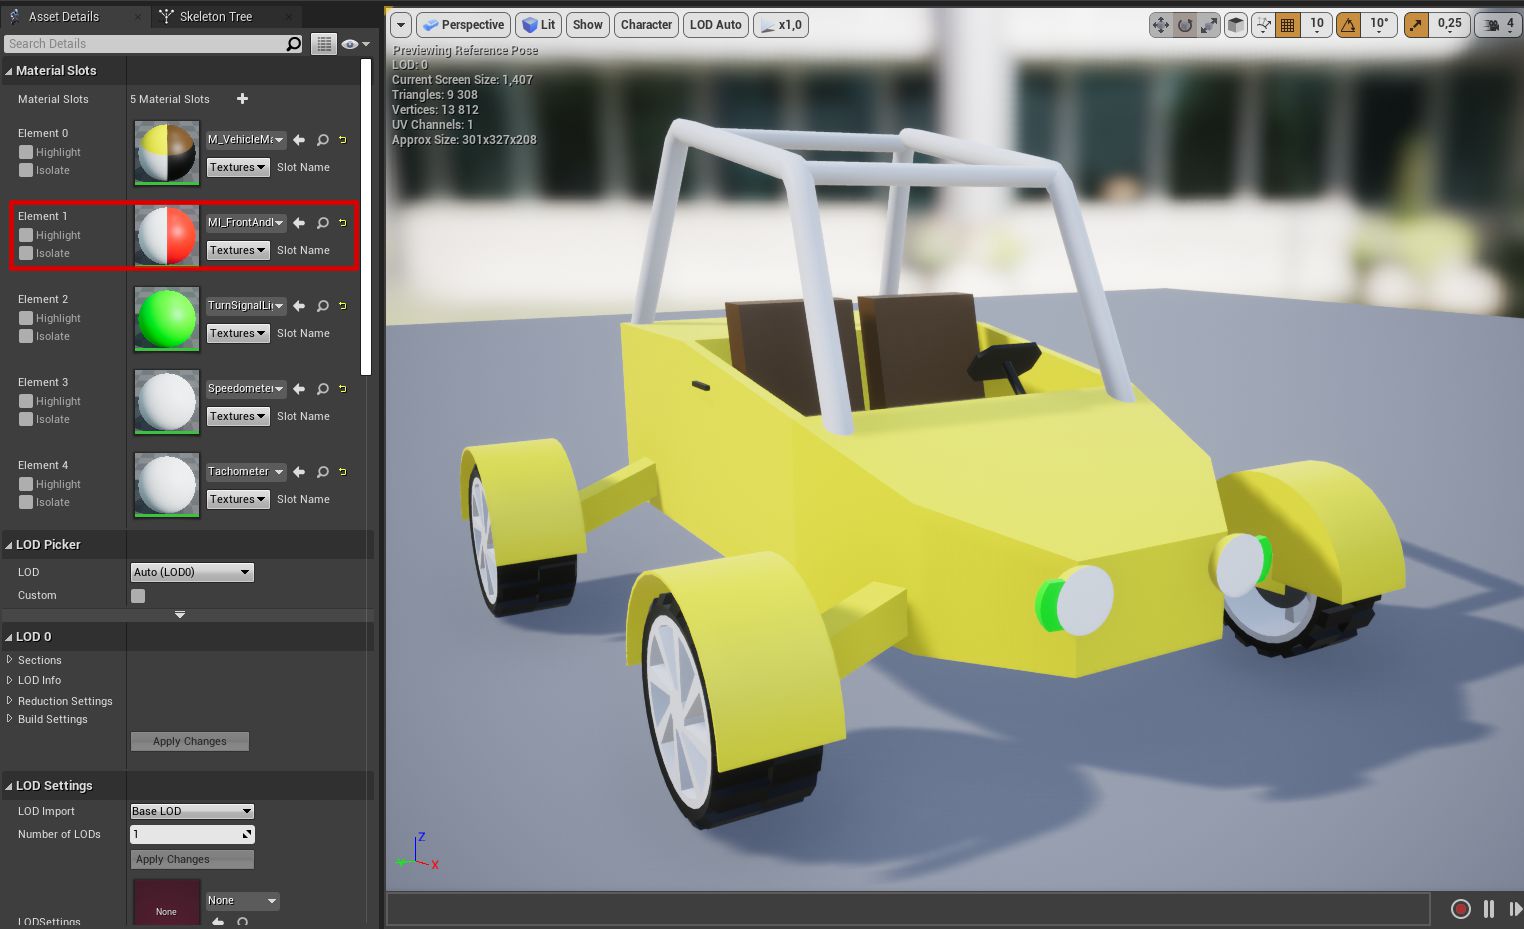
Now, after we have changed the material, we should see that our front lights are white now and that tail lights are red now.

As you can see, I chose the F key for light switching. Choose your own key that feels right for you.
Vehicle blueprint
Now we can set up things in our vehicle blueprint.
Let's start by adding 2 spot lights to our vehicle, that will act as our front lights.
- Under the Mesh component add a Spot Light component as a child.
- In the Spot Light details set its location to X 150, Y -30, Z 20.
- Under the Rendering section uncheck Visible setting.
- Change its Intensity to 15000, Attenuation Radius to 3000, Inner Cone Angle to 30. This is optional, you can set these settings as they feel best for you.
- Copy this spotlight and change set its location to X 150, Y 30, Z 20.
- Rename them to Left Spot Light and Right Spot Light. Also optional step.

Now we need to create Dynamic Material Instance so we could change emission value for our light material at the runtime.
- Open ConstructionScript function.
- Make blueprints that you see in the image below. Remember to set correct material index.
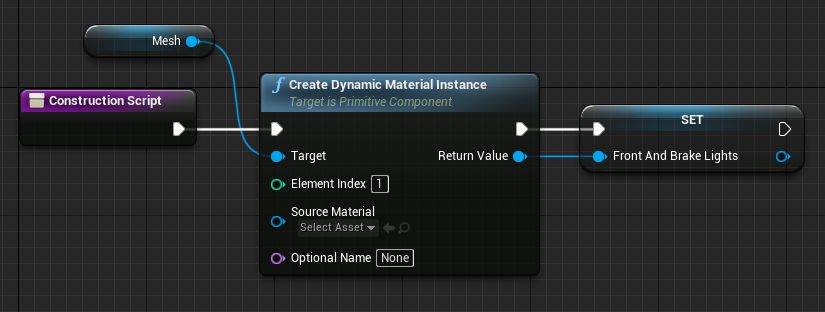
We are creating a dynamic material instance for our mesh 2nd material and then promoting it to the variable. Now we can use this new dynamic material variable to change parameters to our front and tail light material.
Now we can add logic for turning on and off lights. At first, we will add a boolean type variable, where we will save state if our lights are turned on or off.
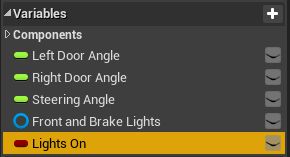
If you have done previous tutorials, then you should have 3 float variables and the last two variables should have been made during this tutorial.
Now we can add blueprints in the Event Graph which will contain logic for lights turning on and off. You can see them in the image below.
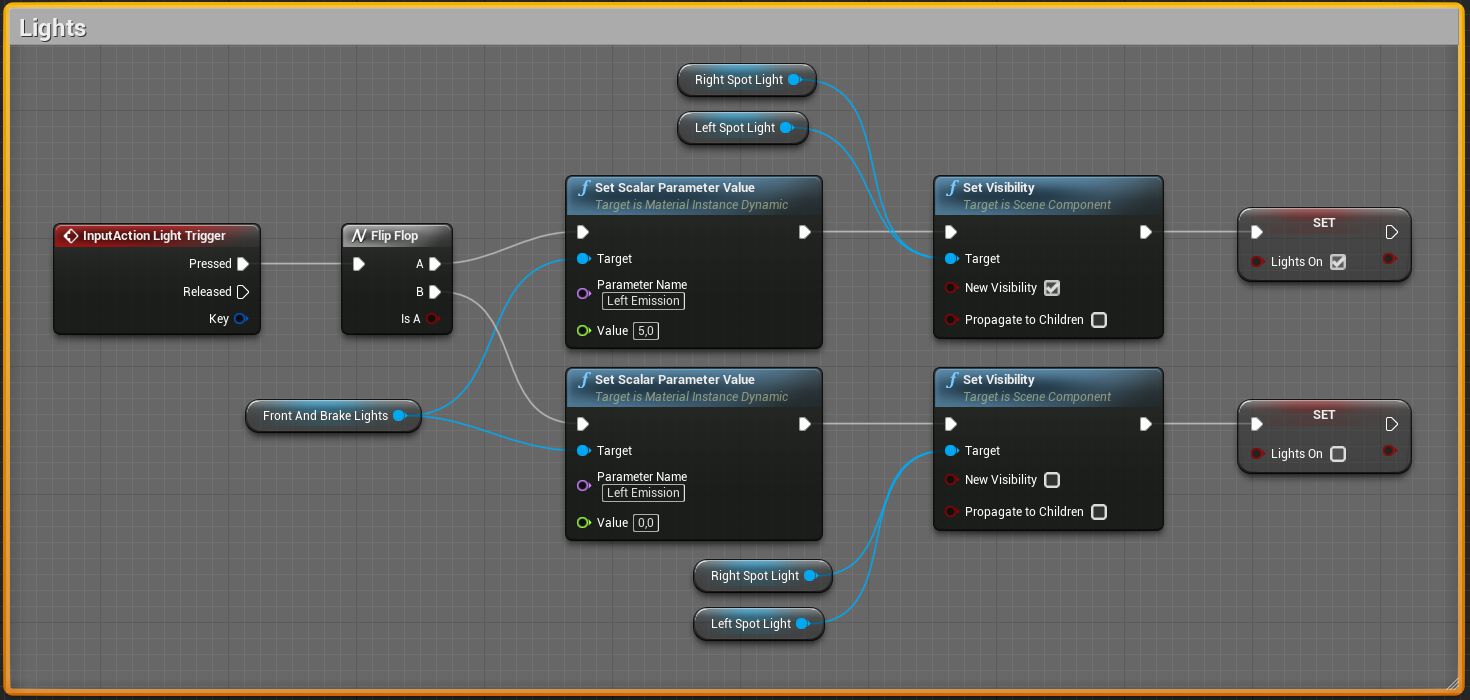
Logic is simple. When we push the light trigger key, we change dynamic material's Left Emission value and change Spot Light visibility, and also save our state in the boolean variable.
You probably noticed that we have done nothing with the dynamic material's Right Emission value and when you push the vehicle's light trigger key, only front lights are lighting up. That's because we will make an additional function for our tail lights, because they will not turn only when we turn on lights for the vehicle, but they will also act as brake lights too.
Let's make a brake light update function. You can see the function in the image below.
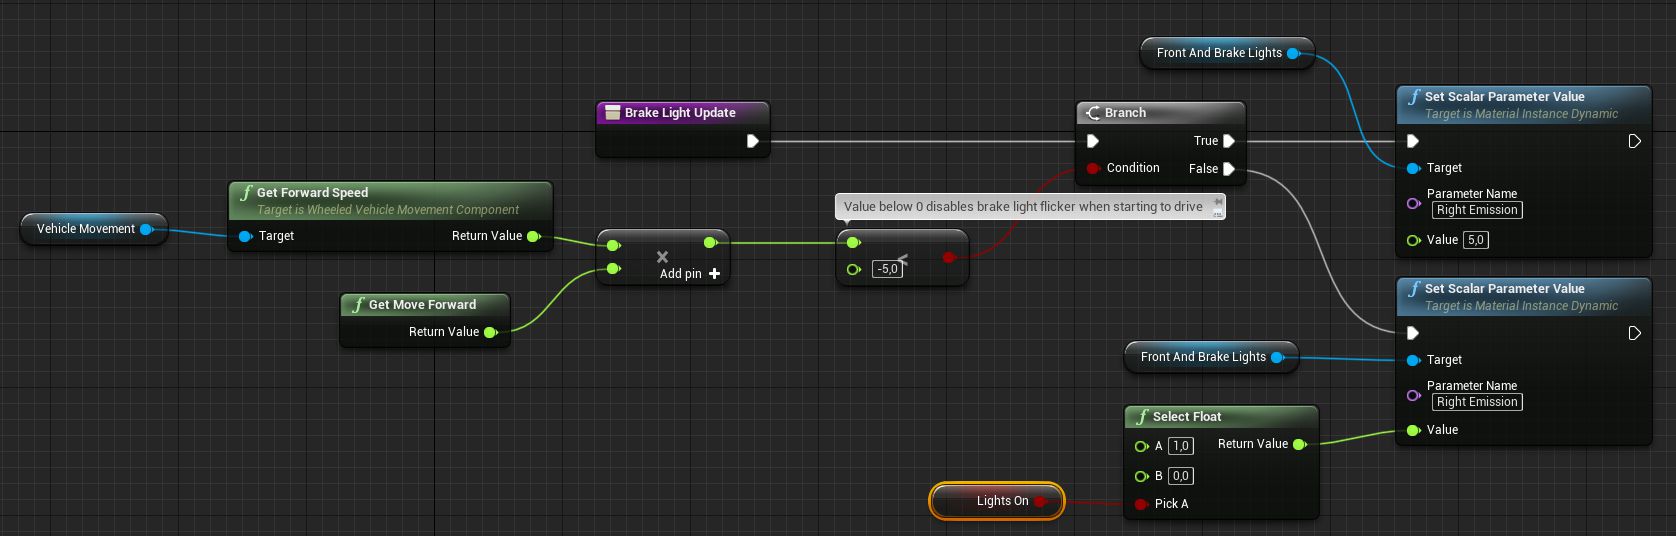
So what does this function do? So, at first, it checks if we are applying brakes. We do that by multiplying the vehicle's forward speed by our move forward input axis value. If we get a negative value, it means that we are applying brakes.
For example. If we drive the vehicle forward, its forward speed will be a positive value and while we are holding our move forward key our move forward input axis value also will be positive. But when we hold down our move backward key, our move forward input value will change to negative, so now forward speed value * input axis value < 0. If we would drive backward, we would get the forward speed and input axis as negative values, and if we multiply negative values, we get a positive outcome. Also, if we don't hold any movement key, then our multiplication is 0. So if multiplication is negative, we are applying brakes.
You see, that in the function we are checking if the value is less than -5 not 0. Forward speed might fluctuate around 0 for few frames when we start to move our vehicle, so we would get some false positives, so I added some threshold so we could be sure that we are actually trying to apply brakes.
After we know if brakes are applied, we can set tail light emission brightness. If we braking we set emission value to 5. If we not braking, then if our lights are on, we set it to 1, if they are off, we set it to 0.
This newly made function also will not work if we will not call it anywhere. So let's hook up to the tick event.
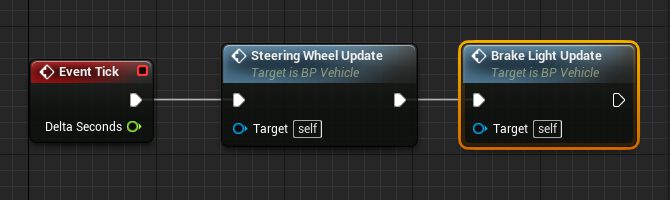
I already have mentioned this in the previous tutorial, that some people might say, that it's bad practice to put things on the tick event and that you should use timers to call functions on frequent bases. But this function isn't performing lots of operations, so I think that we should be ok here. Also, if we will call this function with some bigger time intervals than every frame, our brake lights wouldn't respond instantly.
Now we should have a vehicle with front and tail lights set up.
Share on
Related Creations
Related Articles
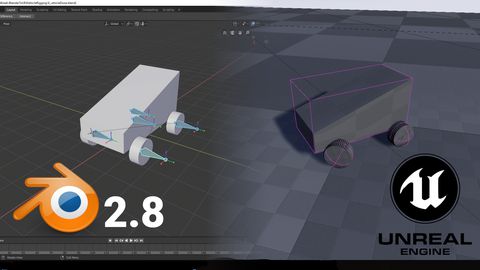
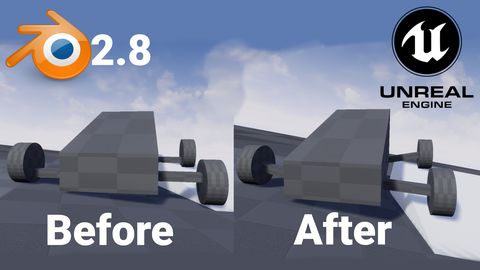
How to get simple suspension animation for vehicle in UE4 with Blender 2.8
Tutorials Blender Unreal Engine
Rigging the vehicle model in Blender | [Part 5] Low poly vehicle for UE4
Tutorials Blender Unreal Engine
Setting up basic vehicle in Unreal Engine 4 | [Part 6] Low poly vehicle for UE4
Tutorials Unreal Engine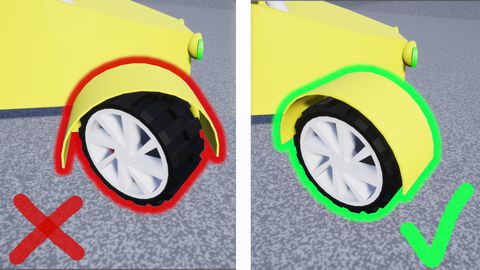
Making openable doors and animated steering wheel | [Part 8] Low poly vehicle for UE4
Tutorials Unreal Engine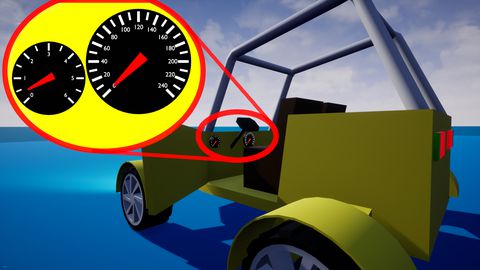
Adding speedometer and tachometer and 1st person camera | [Part 10] Low poly vehicle for UE4
Tutorials Unreal Engine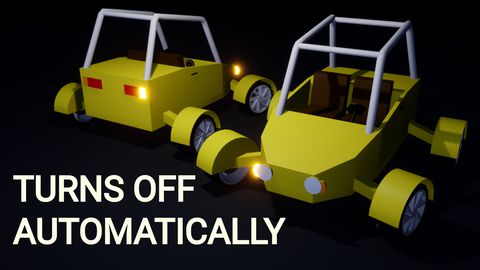
Adding turn signals with automatic turn off | [Part 11] Low poly vehicle for UE4
Tutorials Unreal Engine