Making openable doors and animated steering wheel | [Part 8] Low poly vehicle for UE4
by Arthur Ontuzhan
Posted 5 years, 11 months ago Last edit 2 years, 3 months ago
Categories: Tutorials Unreal Engine Tags: Vehicle UE4
Introduction
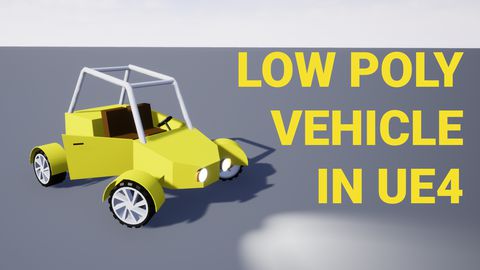
This is the eighth part of the tutorial series on how to create a low poly vehicle for Unreal Engine 4 using Blender and other free software. You can see the outcome of the tutorial series or get project files here.
In this tutorial, we will make the vehicle's doors openable and steering wheel animated.
You can find other parts here:
- [Part 1] Modeling low poly vehicle base in Blender.
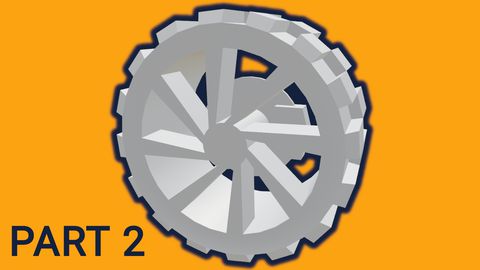
- [Part 2] Modeling low poly vehicle wheels.
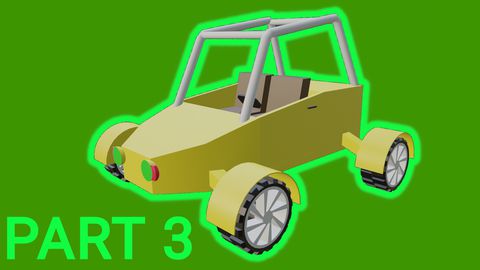
- [Part 3] Texturing the vehicle model.
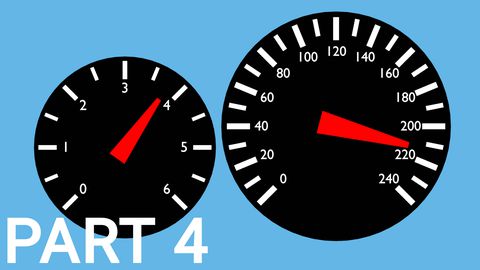
- [Part 4] Making speedometer and tachometer textures.
- [Part 5] Rigging vehicle the vehicle model.
- [Part 6] Setting up basic vehicle in Unreal Engine 4.
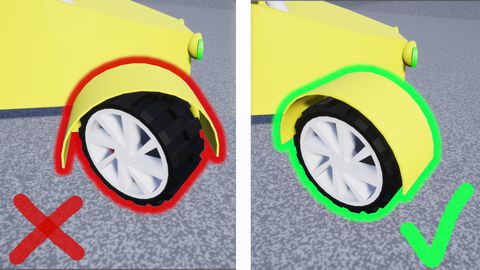
- [Part 7] Making mudguards and brake calipers move together with wheels.
- [Part 9] Adding lights and brake lights.
- [Part 10] Adding speedometer and tachometer and first person camera.
- [Part 11] Adding turn signals with automatic turn off.
- [Part 12] Generating and setting up basic engine sounds.
Also, there's a video if you have difficulties to understand some parts.
Making openable doors
There are many ways on how to make openable doors for vehicles in UE4. You can have doors as separate meshes and open doors by rotating them. But in our case, our vehicle is made from one mesh and our doors are rigged, so we can just move bones to open the vehicle's doors.
You can find out how to rig doors here.
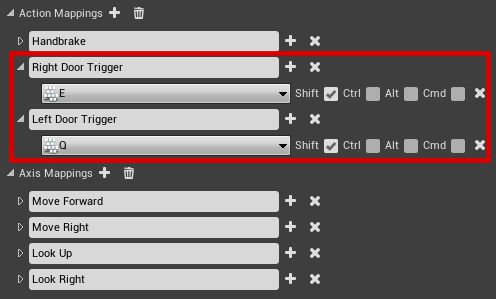
Choose your own keys that feel right for you. I chose Shift+Q and Shift+E.
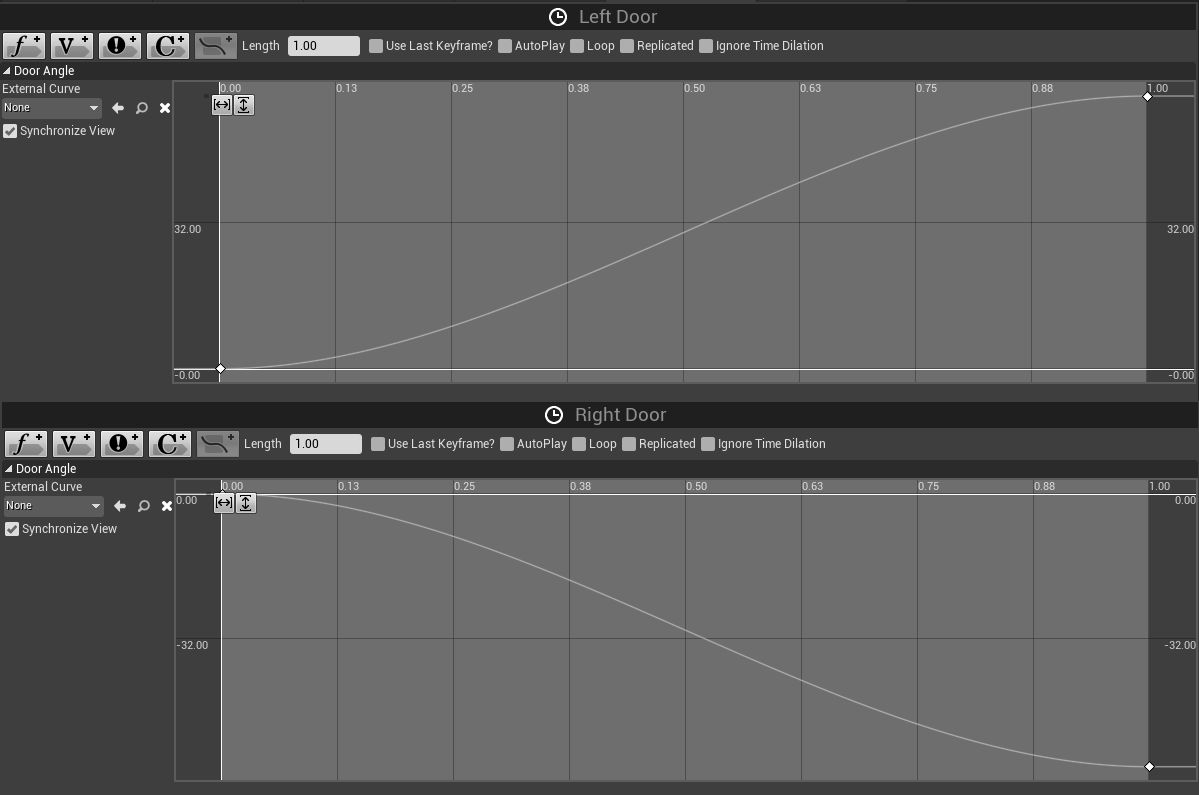
Now we can add blueprints in the vehicle's Event Graph which will contain logic for door opening and closing. You can see them in the image below. We are using timeline nodes in these blueprints, I will explain how to create them after this image.
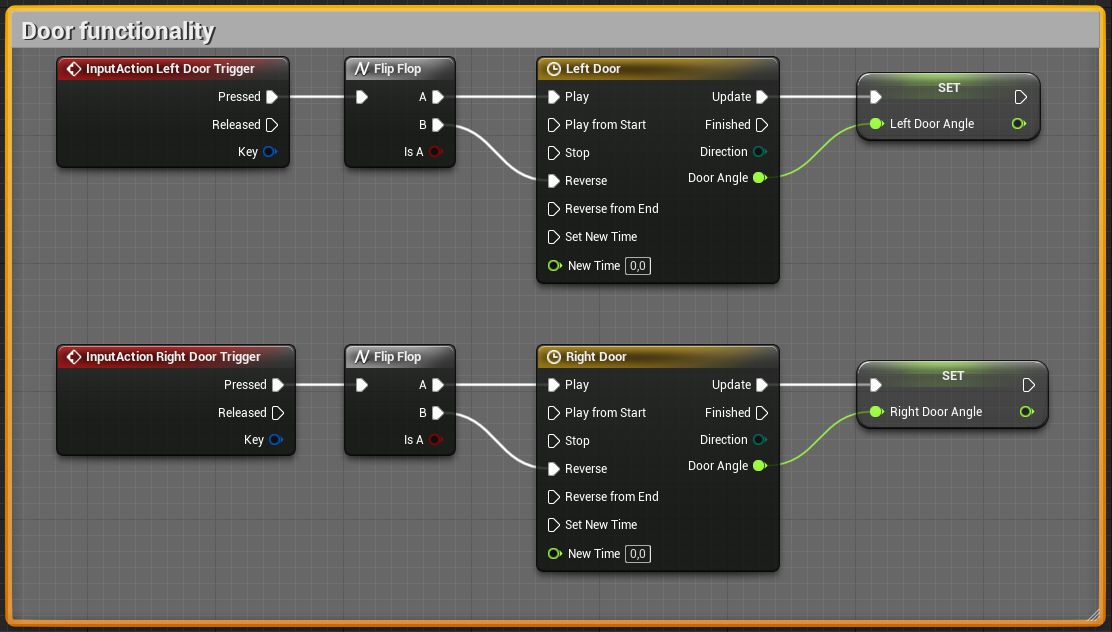
Our both timelines will be almost identical, they will have only one difference.
- In the timeline Add Float Track.
- Set its length to 1.00.
- Right click in float track and add new Key.
- Set the key time to 0 and value to 0.
- Add another key and set time to 1 and for the left door set value to 60 and for the right door set value to -60.
- Right click on one key and set key interpolation to auto. It's optional, I just don't prefer linear interpolation for door opening and closing.
- Right click on the track name, click Rename and rename it to Door Angle or however you want.
Logic is really simple. When you push the door's trigger key, the timeline gets played and door angle value changes over time. When you press it again, the timeline gets played in reverse and door value goes back to its start value.

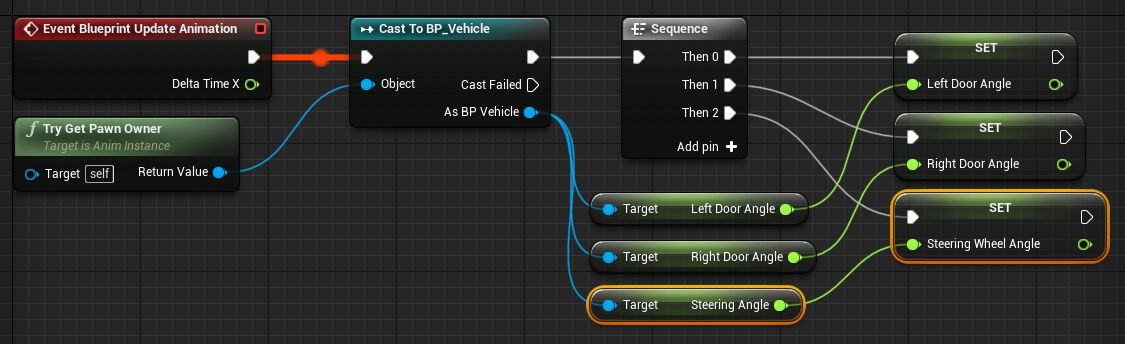
Now we need to set those variable values in the animation blueprint's Event Graph. See the blueprints in the image below.
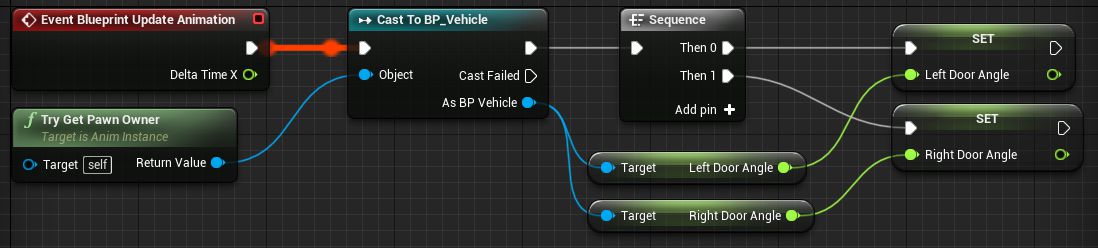
In this blueprint we get values from our vehicle pawn and set those values to animation blueprint values.
We could optimize this blueprint by moving the cast node away from the Blueprint Update Animation event. And put it in like Begin Play event and then after the cast node we could save pawn as a variable. Then instead of casting on every Blueprint Animation event, we could just check if the pawn variable is valid. But I left it as it is, just for sake of simplicity.
Now we can open Anim Graph in our animation blueprint and add some nodes which will control our door animation.
- Open Anim Graph.
- After the Wheel Handler node add Transform (Modify) Bone node.
- In the new node Details uncheck Translation and Scale.
- Change Rotation Mode to Add To Existing.
- Make sure that Rotation Space is set to Component Space.
- As Bone to Modify set Left or Right Door bone.
- Right click on node Rotation struct and click Split Struct Pin.
- Connect Left Door Angle or Right Door Angle to nodes Rotation Z (Yaw) input. Make sure that you put the corresponding angle variable to the bone you selected in the node's details.
Now in your animation blueprint's Anim Graph you should see new nodes as in the image below.
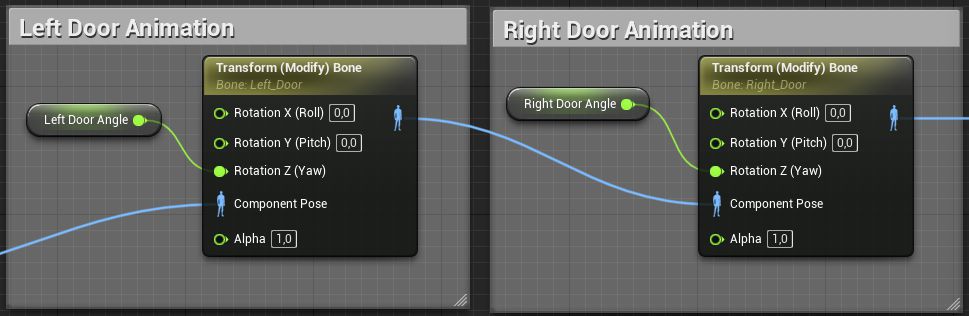
If you have set up everything correctly, you should have the possibility to open and close your vehicle doors by pressing your set up door trigger keys.
Making animated steering wheel
Same as for doors there are many ways on how to make animated steering wheels for vehicles in UE4. You can have separate mesh for the steering wheel and rotate that. But in our case, our vehicle is made from one mesh and our steering wheel is rigged, so we can just rotate bone.
You can find out how to rig the steering wheel here.
Now we need to update this variable. Let's make a function which will update that variable. You can see the function in the image below.

You might ask, but why do we need to take each wheel steering angle and then compare them? There's such a thing as Ackerman steering. It makes each wheel have a different angle on turns, so there would not be wheel side slips etc. I already linked wikipedia article if you want to read more about this. Also, you can disable Ackerman accuracy in the Vehicle Movement component details if you want to.
This newly made function also will not work if we will not call it anywhere. So let's hook up to the tick event.
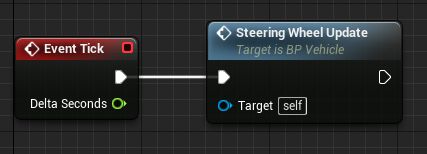
Some people might say, that it's bad practice to put things on the tick event and that you should use timers to call functions on frequent bases. But this function isn't performing lots of operations, so I think that we should be ok here. Also, if we will call this function with some bigger time intervals than every frame, our steering wheel might look laggy.
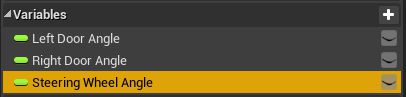
Now we need to set the value of this variable in the Event Graph.
Now we can add nodes in Anim Graph which will animate our steering wheel.
- Open Anim Graph.
- After the Wheel Handler node add Transform (Modify) Bone node.
- In the new node Details uncheck Translation and Scale.
- Change Rotation Mode to Add To Existing.
- Change Rotation Space to Bone Space.
- As Bone to Modify set Steering Wheel bone.
- Right click on node Rotation struct and click Split Struct Pin.
- Connect Steering Wheel Angle variable which is multiplied by -3 to Rotation Y (Pitch) input.
Now in your animation blueprint's Anim Graph you should see new nodes as in the image below.
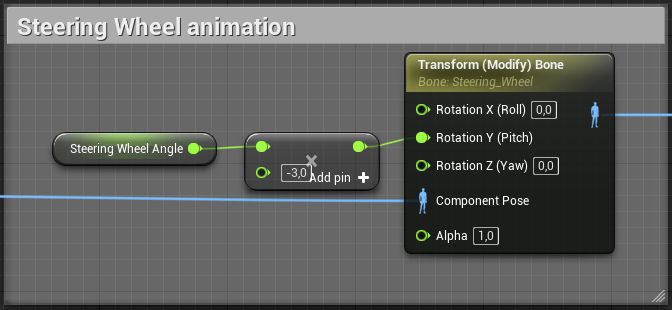
You might have a question, why am I multiplying Steering Wheel Angle with -3? I'm multiplying it 3 times, so the steering wheel would rotate more and it would look more realistic, and I'm multiplying it by a negative number because otherwise, it would rotate to the left when you turn right and vice versa.
Now you should have a vehicle set up with an animated steering wheel.
Share on
Related Creations
Related Articles
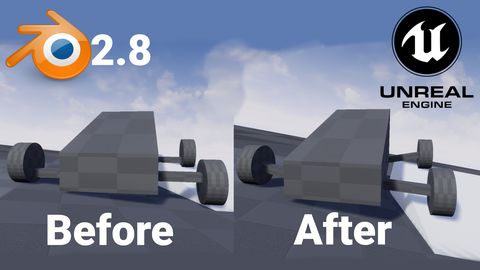
How to get simple suspension animation for vehicle in UE4 with Blender 2.8
Tutorials Blender Unreal Engine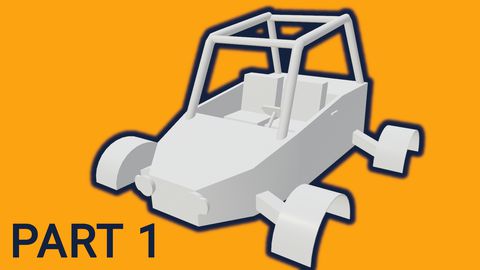
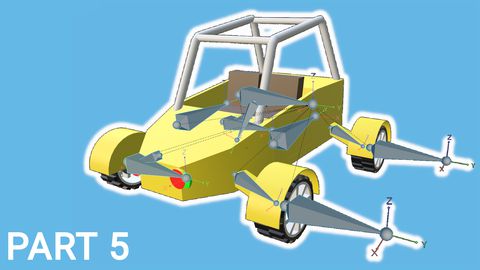
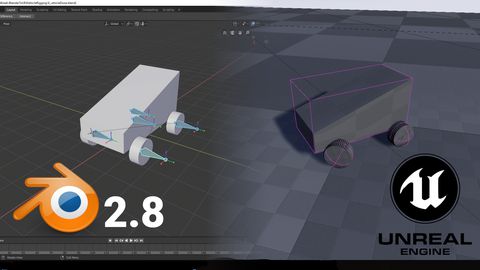
Rigging the vehicle model in Blender | [Part 5] Low poly vehicle for UE4
Tutorials Blender Unreal Engine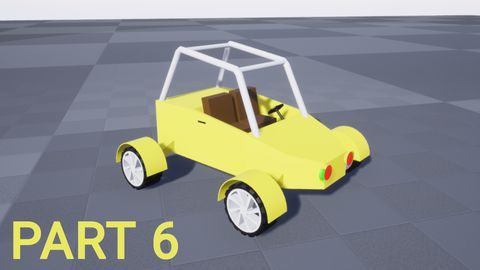
Setting up basic vehicle in Unreal Engine 4 | [Part 6] Low poly vehicle for UE4
Tutorials Unreal Engine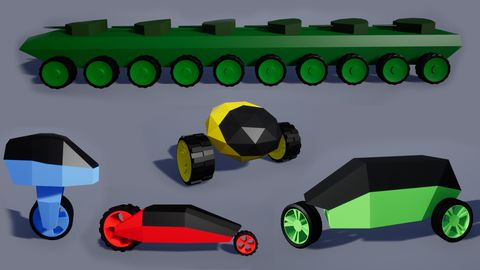
Adding speedometer and tachometer and 1st person camera | [Part 10] Low poly vehicle for UE4
Tutorials Unreal Engine
Adding turn signals with automatic turn off | [Part 11] Low poly vehicle for UE4
Tutorials Unreal Engine