How to get simple suspension animation for vehicle in UE4 with Blender 2.8
by Arthur Ontuzhan
Posted 7 years, 3 months ago Last edit 2 years, 4 months ago
Categories: Tutorials Blender Unreal Engine Tags: Vehicle Blender 2.8 UE4
Table of contents
Introduction
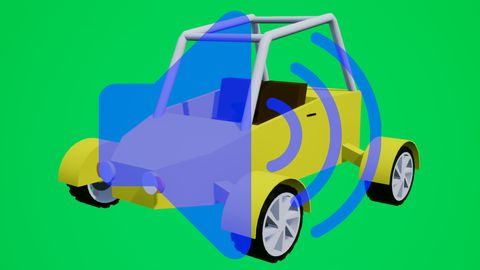
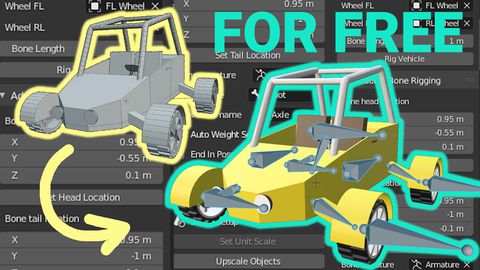
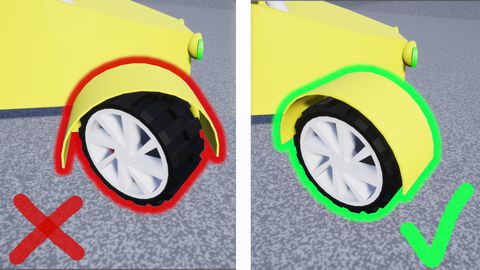
After I figured out how to rig a simple vehicle for UE4 I wanted to rig a vehicle where wheels are more outside of vehicle base like Formula 1 cars have. By just simple rigging vehicle and setting it up in UE4 vehicle's wheels looks pretty bad on such kind of vehicles. To write less, below in video you can see a comparison between simple vehicle rig and what we will achieve here.
And all links in this tutorial which lead to previous tutorial are with anchors, so they will lead to the specified section in the tutorial.
Also, if you are not interested in reading, at the end of this article is a video where I show a whole process with fewer keyboard shortcuts.
Prerequisites
- Blender 2.8 or newer installed. (As I am creating this tutorial, I am using Blender 2.8 beta version, but it should not differ much in a stable release or newer versions.)
- Unreal Engine 4.21.2 installed. Any newer should also work, maybe some older versions also will work. (4.22 works)
- Basic knowledge of how to use Blender and UE4.
- I will assume that you have at least did or seen How to rig vehicle in Blender 2.8 for UE4 tutorial before.
Creation of a vehicle in Blender
Project setup
We will start with simple vehicle creation which will be fairly similar to one we had in How to rig vehicle in Blender 2.8 for UE4 tutorial. At the start we need correctly setup empty blender project so we would not have any issues with UE4 after our vehicle export.
- Set scene Unit Scale to 0.01
- Set Clip End distance to 100m
You can find more details on that in already many times mentioned tutorial here.
Mesh creation
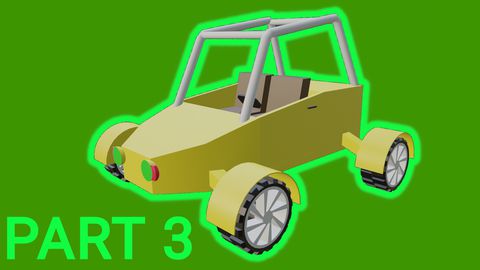
After we have project setup, we will create a simple vehicle mesh with extended wheel axles.
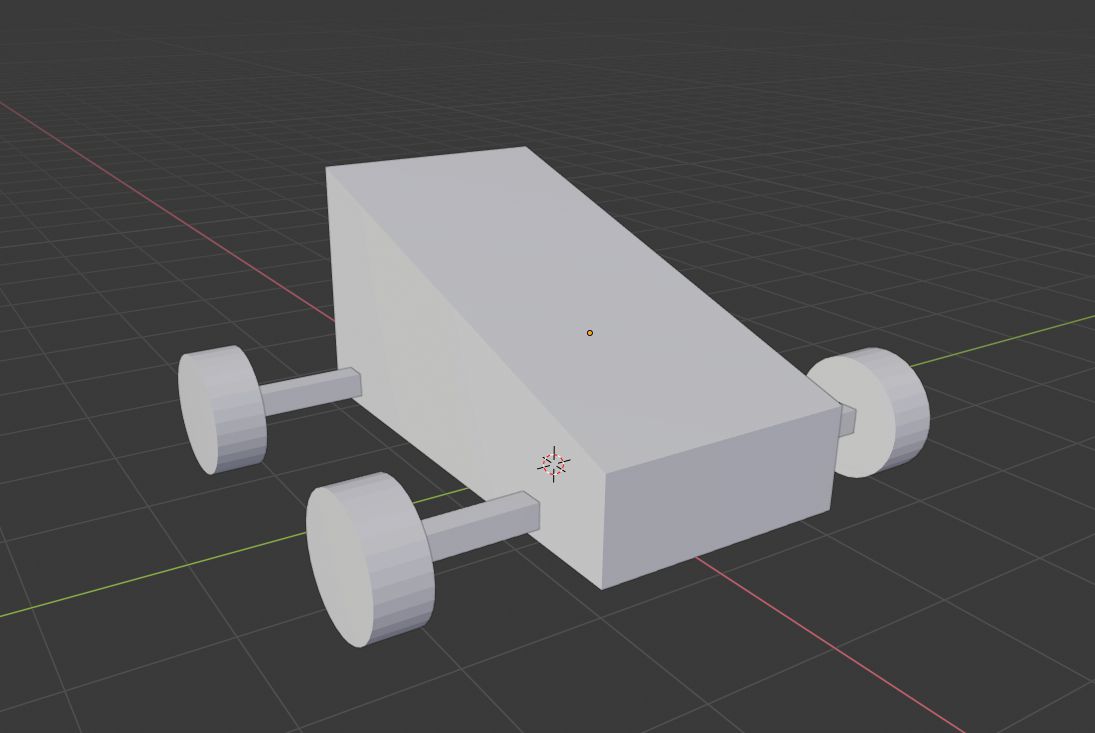
As you can see, our vehicle base will be the same as we had in the previous tutorial. But our wheel positions will be different, they will be higher and wider spread, and they will be connected to vehicle base by extended axles.
To make the vehicle base:
- Create cube - press Shift + A and then in Mesh sub-menu select Cube
- Move cube higher - press G then Z and type 1.2, press Enter
- Scale cube on X-axis - press S then X and type 2, press Enter
- Enter Edit mode and choose Edge select - press Tab and then 2
- Lower upper edge at positive X-axis side - select edge with a left mouse click, press G then Z and type -1.2, press Enter
- Exit edit mode - press Tab
To add wheels:
- Create cylinder - press Shift + A and then in Mesh sub-menu select Cylinder
- Scale cylinder's width - press S then Shift+Z and type 0.5, press Enter
- Scale cylinder's height - press S then Z and type 0.2, press Enter
- Rotate a wheel to the standing position - press R then X and type 90, press Enter
- Move base up - press G then Z and type 0.4, press Enter
- Move wheel to front left position - press G then X and type 1.2, press Enter then G then Y and type 2.2, Enter
- Make right front wheel - press Shift+D then Y and type -4.4, press Enter
- Make both rear wheels - select both front wheels by holding Shift and clicking on them with a left mouse click then press Shift+D then X and type -2.8, press Enter
To add extended axles:
- Create cube - press Shift + A and then in Mesh sub-menu select Cube
- Scale cube thinner - press S then Shift+Y and type 0.1, press Enter
- Scale axle length - press S then Y and type 0.6, press Enter
- Move axle up - press G then Z and type 0.4, press Enter
- Move axle to front left position - press G then X and type 1.2, press Enter then G then Y and type 1.5, Enter
- Make right front axle - press Shift+D then Y and type -3, press Enter
- Make both rear axles - select both front axles by holding Shift and clicking on them with a left mouse click then press Shift+D then X and type -2.8, press Enter
Now it would be good practice if we named each part of the vehicle, but if you are lazy, you can just leave them as they are.
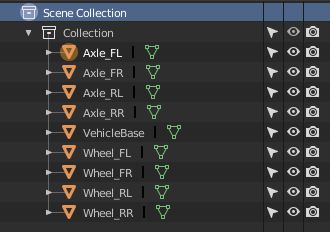
We can see how I named my meshes in an image above.
Vehicle rigging
After we have meshes, we need to add an armature. We add armature as we did in the previous tutorial here, and we will add 4 additional bones for axles.
After you have added bones for vehicle base and wheels like in previous tutorial, we will add axle bones. In difference from the wheel and root bones, axle bone axis does not need to be aligned with the global axis.
To add axle bones:
- In edit mode select one of the wheel bones and duplicate it by pressing Shift+D and move it to the side so it would be easier to select it.
- Exit edit mode - press Tab
- Select nearest axle and enter edit mode by pressing Tab
- Change display mode to Wireframe - press Z and then press 4 or in a menu select Wireframe
- Select axle face which is in the tire - while in edit mode press 3 to have Face Select and then select face the wheel
- Move 3D cursor to face - press Shift+S and press 2 or select Cursor to Selected
- Exit edit mode and again select armature and enter edit mode - press Tab then select armature and again press Tab
- Select the previously created bone tail (thinnest side) and place it at 3D cursors location - select bone tail and press Shift+S and press 8 or select Selection to Cursor
- Now move bone's Head to axle's face which is in vehicle body same way we moved tail to axle's wheel face.
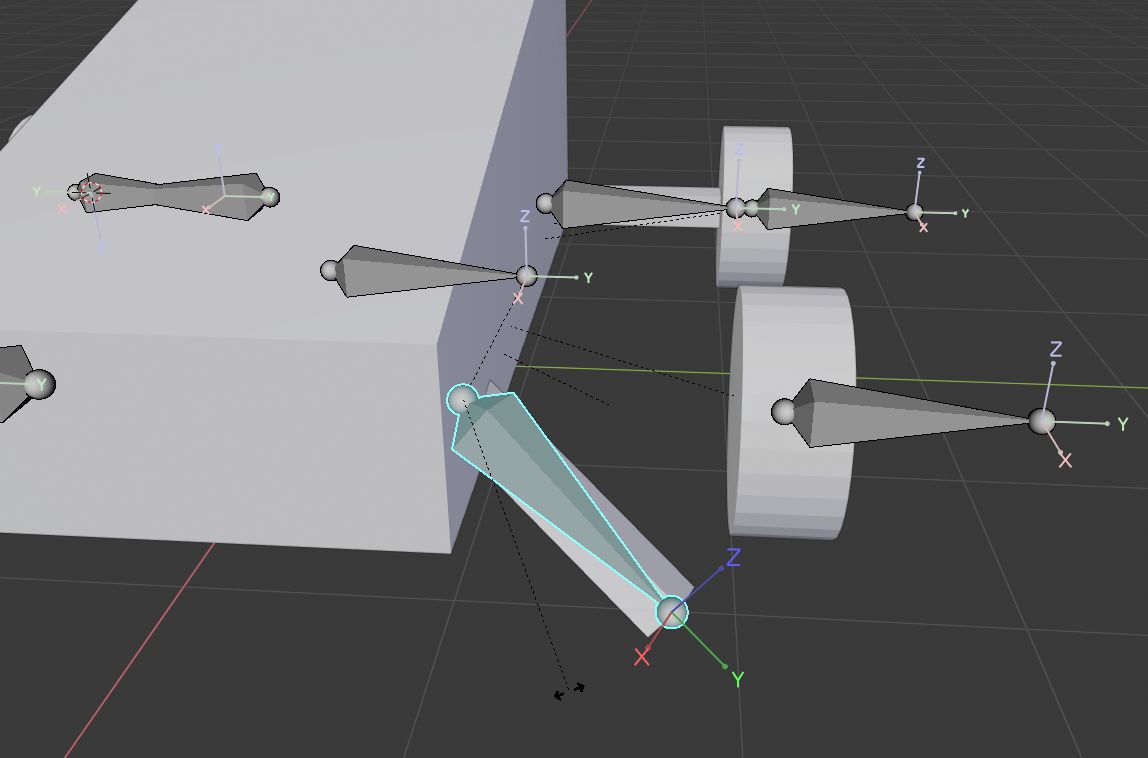
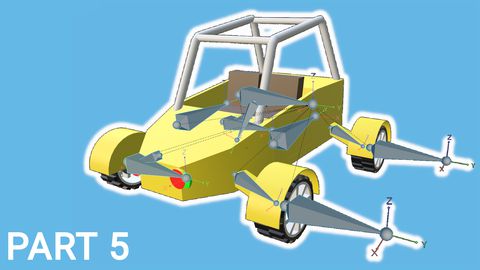
- Now yo can create all other bones using these steps or just create front or rear bones first and then duplicate them both and move them to other axles.
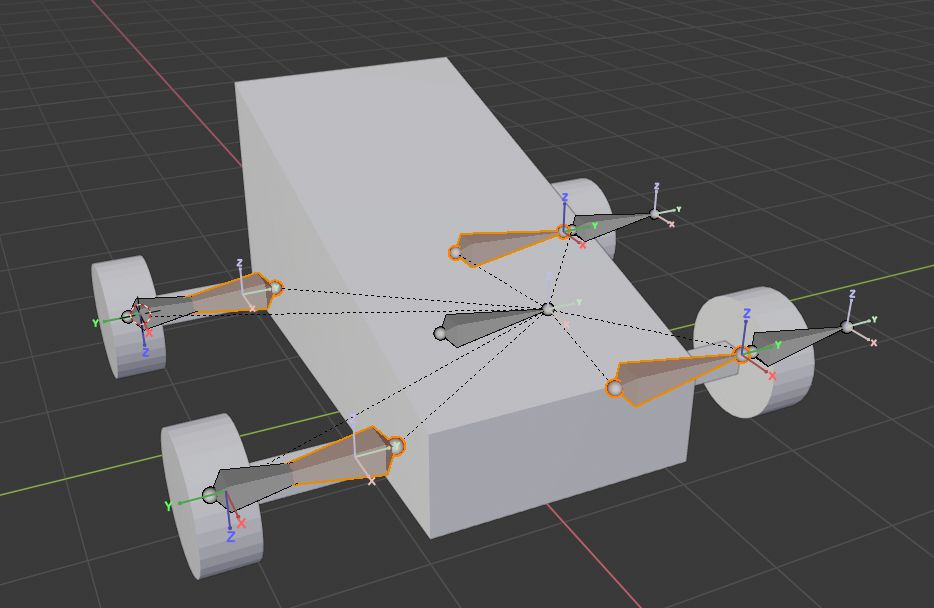
At the end you should get something like in a picture above. I have selected axle bones in it. Also, if you could not understand my typed instructions, you can watch that part in the video at the end of this tutorial.
Now we should name our bones so we would not have a hard time to find the right ones in the UE4.
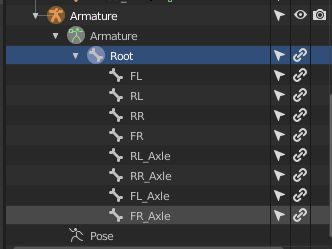
Now we can parent our meshes to the armature. Just remember to apply scale and rotation to all objects by selecting them all and then pressing Ctrl+A and selecting Rotation & Scale.
After scale and rotation is applied, make sure you have selected all objects and that armature is active. Then press Ctrl+P and select With Empty Groups.
Now we weight all meshes like we did in the previous tutorial, just for axle meshes select axle bone Vertex Group.
After weighting is done we should check in Pose Mode if all meshes are weighted correctly. In an image above you can see how axle mesh should move when you rotate its bone in Pose Mode.
If everything is right, we can export our vehicle. Exporting is the same as in the previous tutorial.
Setting up the vehicle in UE4
Now you could set up vehicle just like we did in the previous tutorial, but after then you will need to do some changes to Animation Blueprint and you could also do optional change to Wheel Blueprint.
So just come back to here when you have set up your vehicle like in previous tutorial.
So we will change to Anim Graph in the Animation Blueprint.

Animation blueprint
You can see that between Wheel Handler node and Component To Local node we need to add 4 Look At nodes, one for each wheel axle.
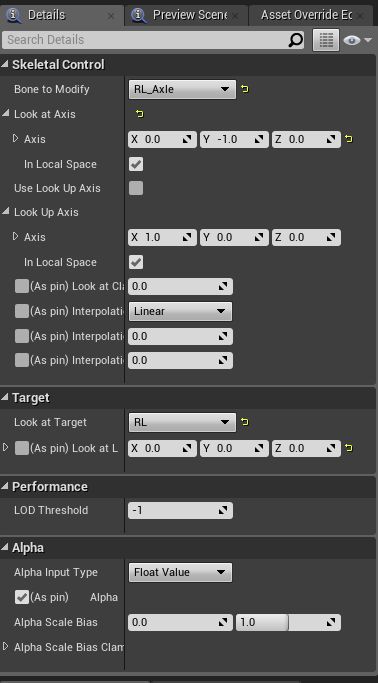
For each of these nodes we need to change these values in their Details:
- Bone to Modify set to axle bone name
- Look at Axis set to 0.0 -1.0 0.0
- Look at Target set to corresponding wheel bone name
- Look at Location set to 0.0 0.0 0.0
Most of these changed values probably makes sense to you, almost all of them sounds like self explanatory, but there is that Look at Axis value. You are probably interested, why we needed to set its Y value to -1.0.
Look at Axis value determines which bone axis will look towards target bone. But you are probably still confused how to find out which axis I want to look at the target and maybe you noticed that in blender our axle bone positive Y axis pointed to the wheel not the negative side.
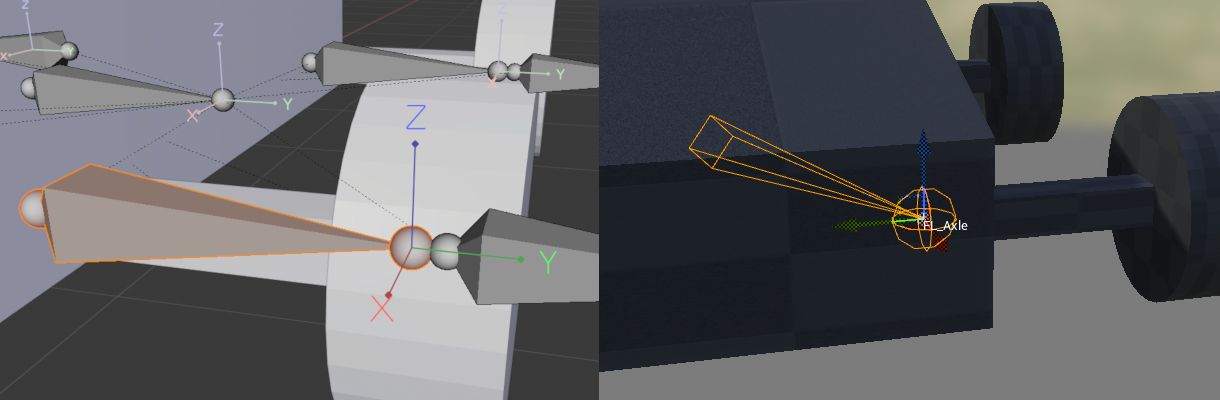
In the image above you can see side by side how axis looks in the blender and the UE4. It looks like, that UE4 just flips Y axis. So next time if you are wondering which axis to choose, just look into skeleton asset at the bone axis.
After all this is set, your vehicle's axles should be animated.
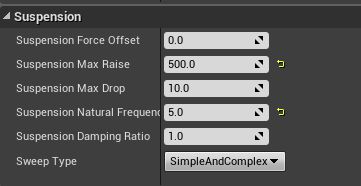
But if you want to have same effect as I had in preview video, you need to change some values in Wheel Blueprint.
Wheel Blueprint (optional)
Share on
Related Creations
Related Articles
How to get simple physics simulation animation from Blender 2.8 to UE4
Tutorials Blender Unreal Engine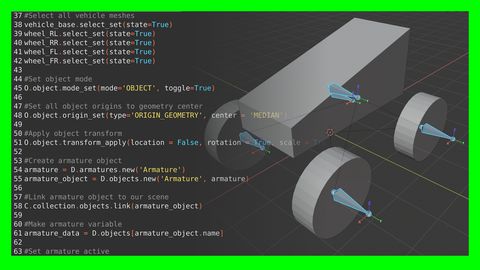
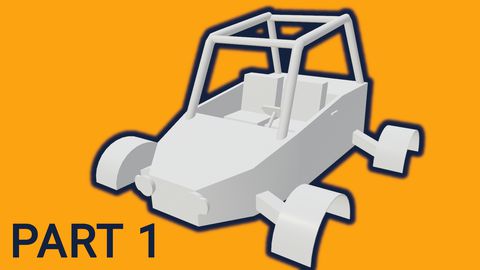
Rigging the vehicle model in Blender | [Part 5] Low poly vehicle for UE4
Tutorials Blender Unreal Engine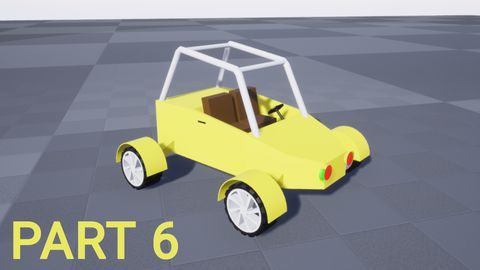
Setting up basic vehicle in Unreal Engine 4 | [Part 6] Low poly vehicle for UE4
Tutorials Unreal Engine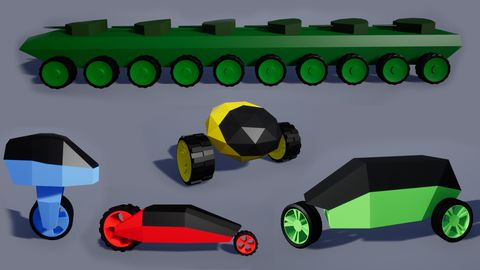
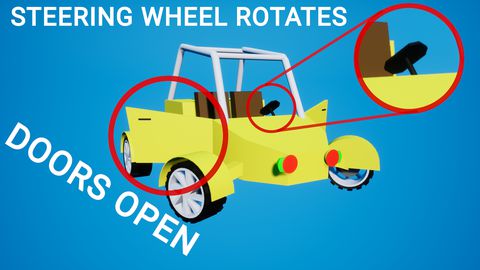
Making openable doors and animated steering wheel | [Part 8] Low poly vehicle for UE4
Tutorials Unreal Engine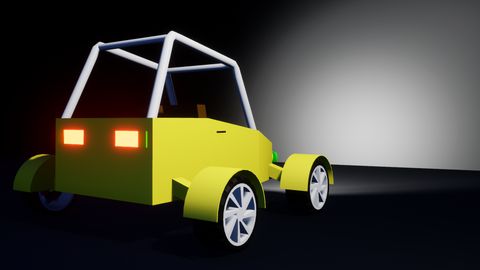
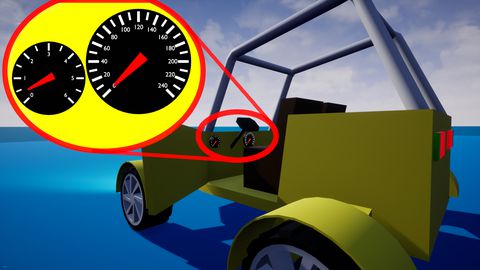
Adding speedometer and tachometer and 1st person camera | [Part 10] Low poly vehicle for UE4
Tutorials Unreal Engine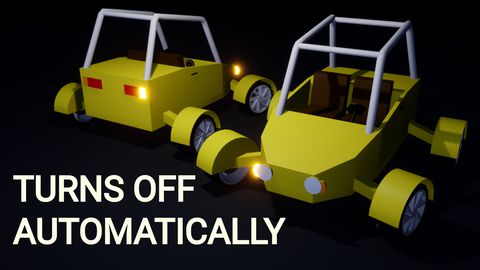
Adding turn signals with automatic turn off | [Part 11] Low poly vehicle for UE4
Tutorials Unreal Engine