Making mudguards and brake calipers move together with wheels | [Part 7] Low poly vehicle for UE4
by Arthur Ontuzhan
Posted 5 years, 11 months ago Last edit 2 years, 3 months ago
Categories: Tutorials Unreal Engine Tags: Vehicle UE4
Introduction
This is the seventh part of the tutorial series on how to create a low poly vehicle for Unreal Engine 4 using Blender and other free software. You can see the outcome of the tutorial series or get project files here.
In this tutorial, we will make the vehicle's mudguards and brake calipers move together with wheels.
You can find other parts here:
- [Part 1] Modeling low poly vehicle base in Blender.
- [Part 2] Modeling low poly vehicle wheels.
- [Part 3] Texturing the vehicle model.
- [Part 4] Making speedometer and tachometer textures.
- [Part 5] Rigging vehicle the vehicle model.
- [Part 6] Setting up basic vehicle in Unreal Engine 4.
- [Part 8] Making openable doors and animated steering wheel.
- [Part 9] Adding lights and brake lights.
- [Part 10] Adding speedometer and tachometer and first person camera.
- [Part 11] Adding turn signals with automatic turn off.
- [Part 12] Generating and setting up basic engine sounds.
Also, there's a video if you have difficulties to understand some parts.
Checking duplicate bones
If you have followed these tutorial series, then you should already have correctly rigged wheel duplicate bones. If you haven't followed the tutorial series, then you can find how to do that here.
If you want to make sure if you have duplicate wheel bones rigged correctly, you can check that by following these steps:
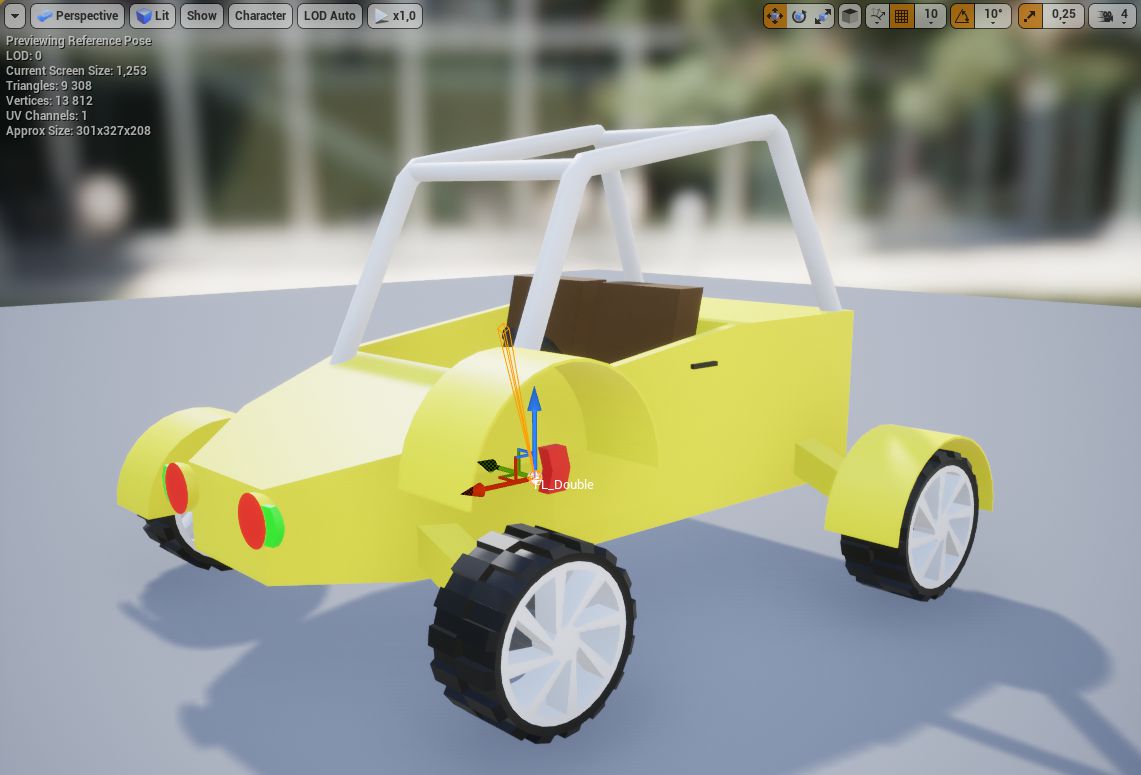
- Open vehicle's Skeletal Mesh asset.
- Select one of the wheels duplicate bones. We named them with _Double suffix
- In the viewport move bone around.
- If with the bone only mudguard and brake caliper moves, then you have correctly rigged bone.
Making mudguards and calipers move with wheels
We will make this happen by adding few new nodes into our Animation Blueprint's AnimGraph.
- Open vehicle's Animation Blueprint.
- Open AnimGraph.
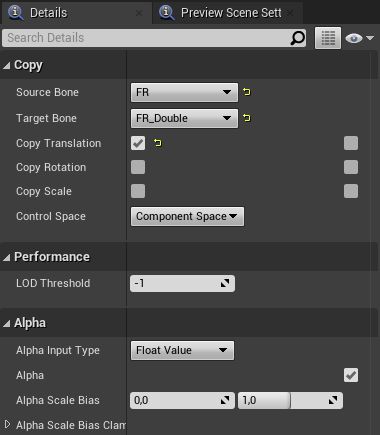
- After the Wheel Handler node add Copy Bone node.
- In the Copy Bone node details as a Source Bone set one of the wheel bones.
- As a Target Bone set the previously selected bones duplicate bone.
- Check Copy Translation.
This node will make mudguard and brake caliper follow the wheel's location, but it will not rotate together with the wheel. We will fix that by adding another node after the Copy Bone node.
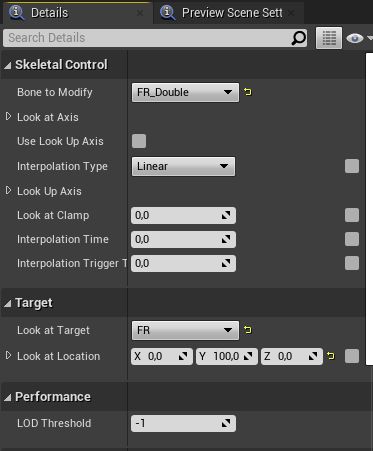
- After Copy Bone node add Look At node.
- In the Look At node details as a Bone to Modify set wheel's duplicate bone.
- As a Look at Target set wheel's bone.
- Change Look at Location to X 0, Y 100, Z 0. You can set Y less than 100, just need to be it more than 0.
Now you need to do Copy Bone node and Look At node for each wheel. After you do that you should get something similar to what you see in the image below.
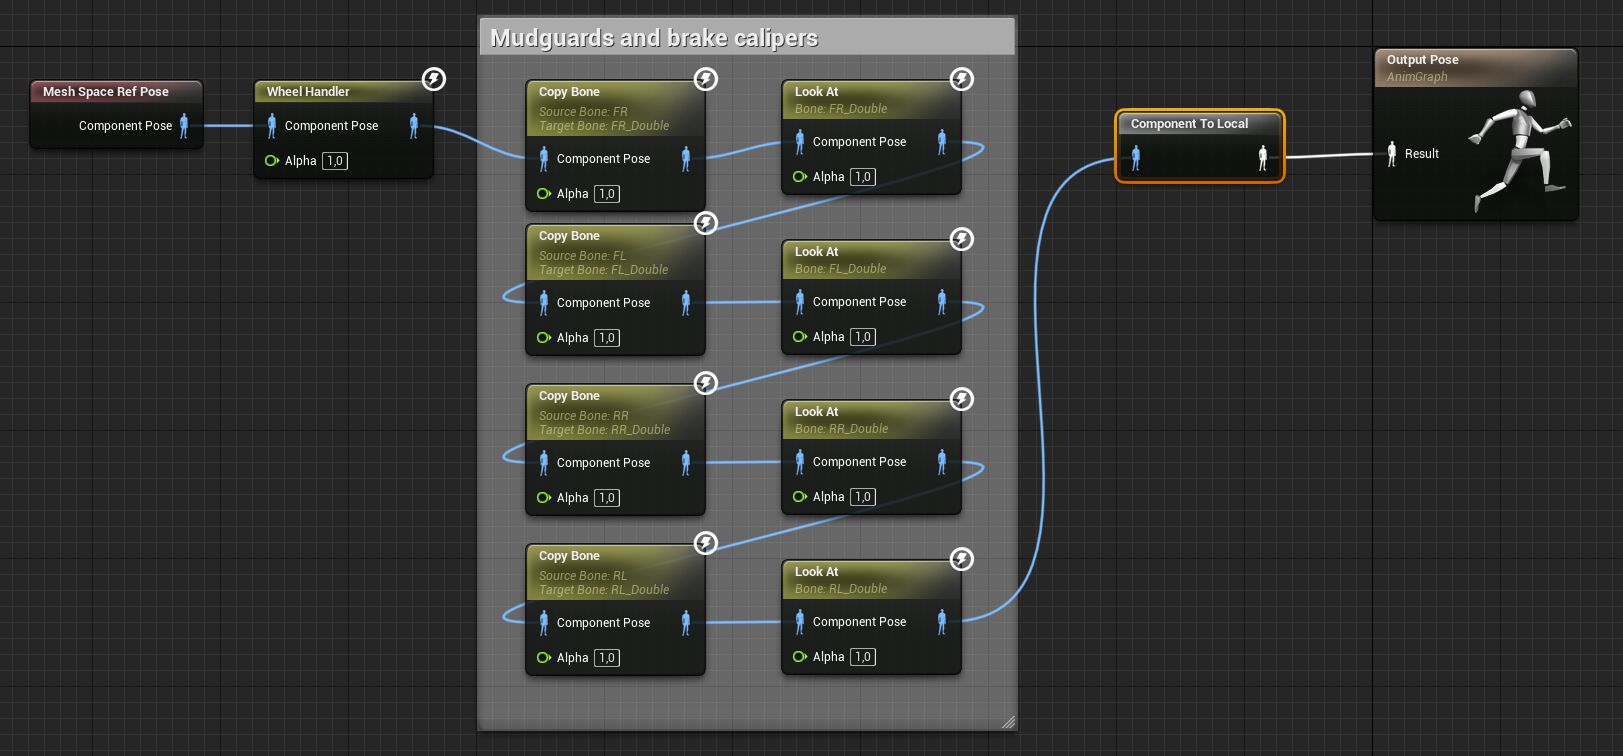
After you have done all wheels and try to ride the vehicle, you should see that mudguards and brake calipers move correctly with the wheels. But you might notice, that axles stay static and don't look right.
Making axles to follow wheels
If you have looked at some of my older tutorials then you probably might have seen this. We will do the same thing in animation blueprint what we did in that tutorial.
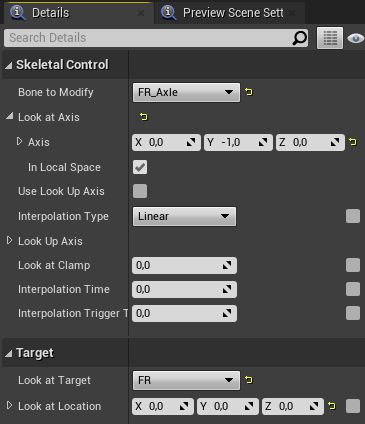
- After all mudguard and brake caliper nodes add a new Look At node.
- In the Look At node details as a Bone to Modify set axle's bone.
- Change Look at Axis to X 0, Y -1, Z 0.
- As a Look at Target set wheel's bone.
- Change Look at Location to X 0, Y 0, Z 0.
Now repeat the same thing for each axle. After that, you should get something similar to what you see in the image below.
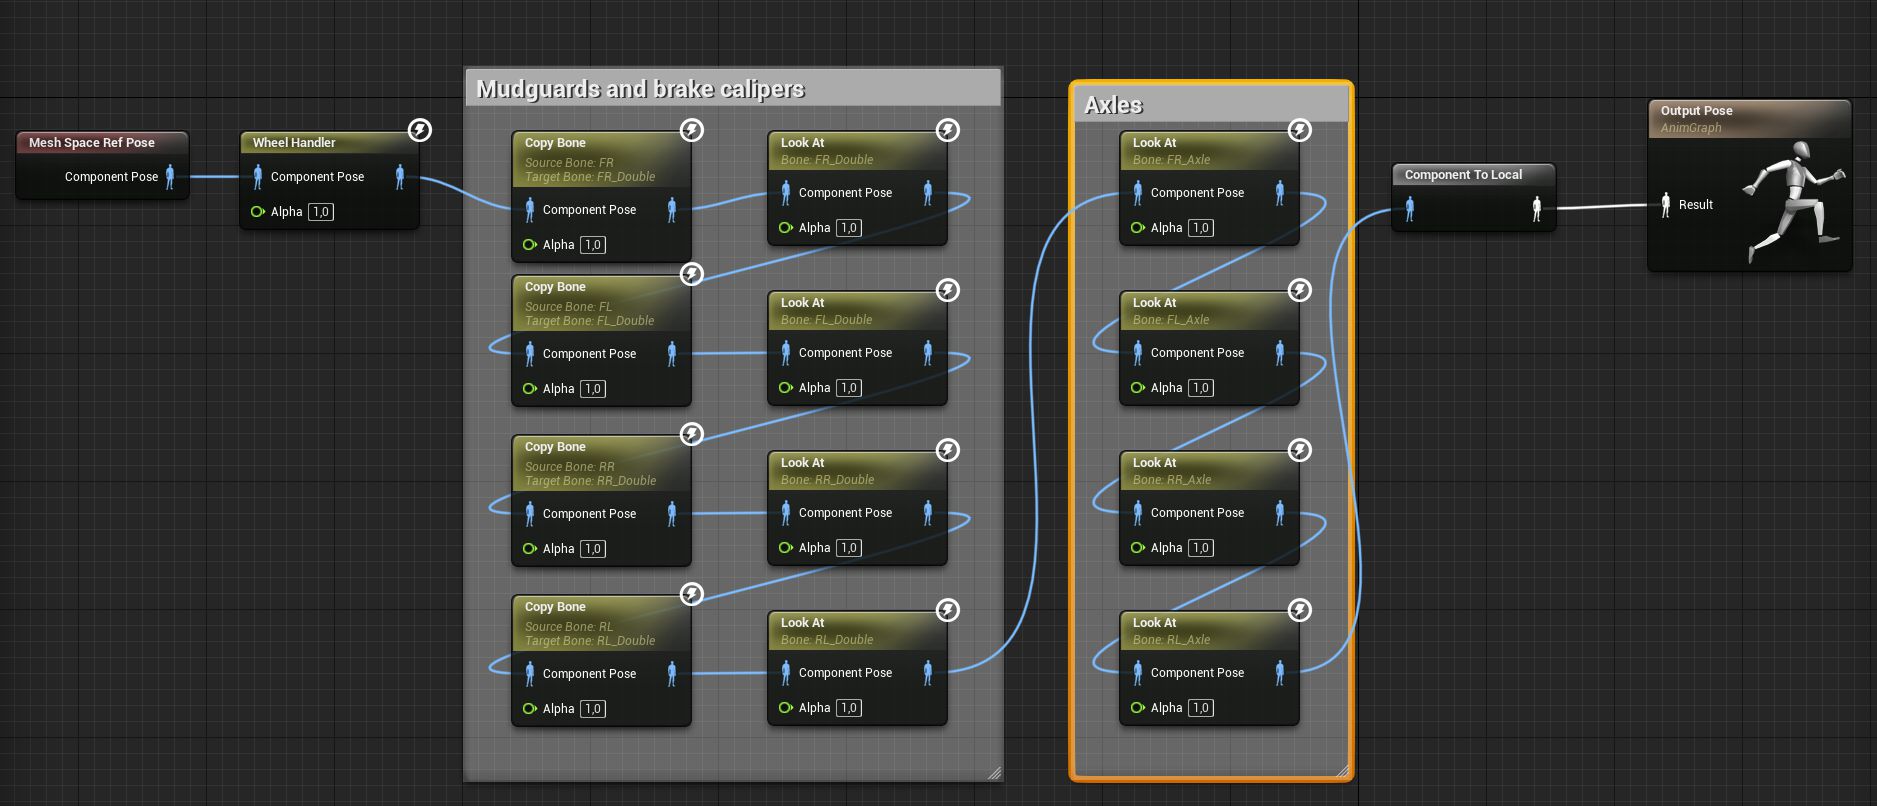
Now axles should point to the wheels correctly.
Share on
Related Creations
Related Articles
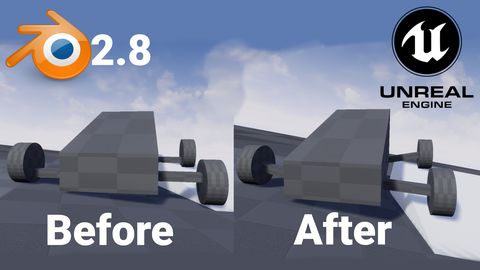
How to get simple suspension animation for vehicle in UE4 with Blender 2.8
Tutorials Blender Unreal Engine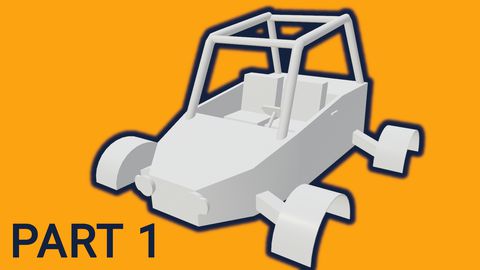
Rigging the vehicle model in Blender | [Part 5] Low poly vehicle for UE4
Tutorials Blender Unreal Engine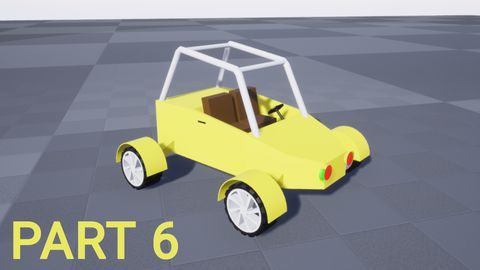
Setting up basic vehicle in Unreal Engine 4 | [Part 6] Low poly vehicle for UE4
Tutorials Unreal Engine
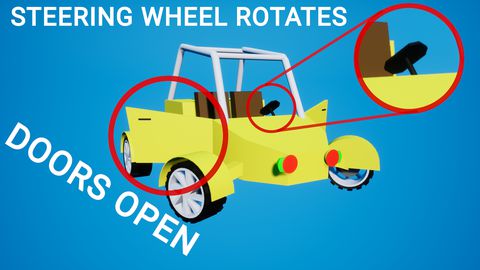
Making openable doors and animated steering wheel | [Part 8] Low poly vehicle for UE4
Tutorials Unreal Engine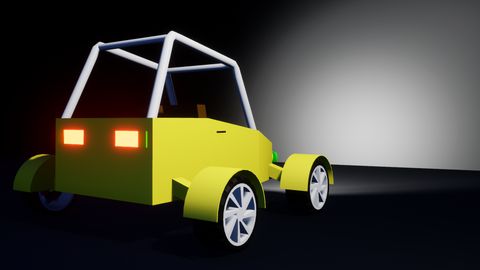
Adding speedometer and tachometer and 1st person camera | [Part 10] Low poly vehicle for UE4
Tutorials Unreal Engine
Adding turn signals with automatic turn off | [Part 11] Low poly vehicle for UE4
Tutorials Unreal Engine